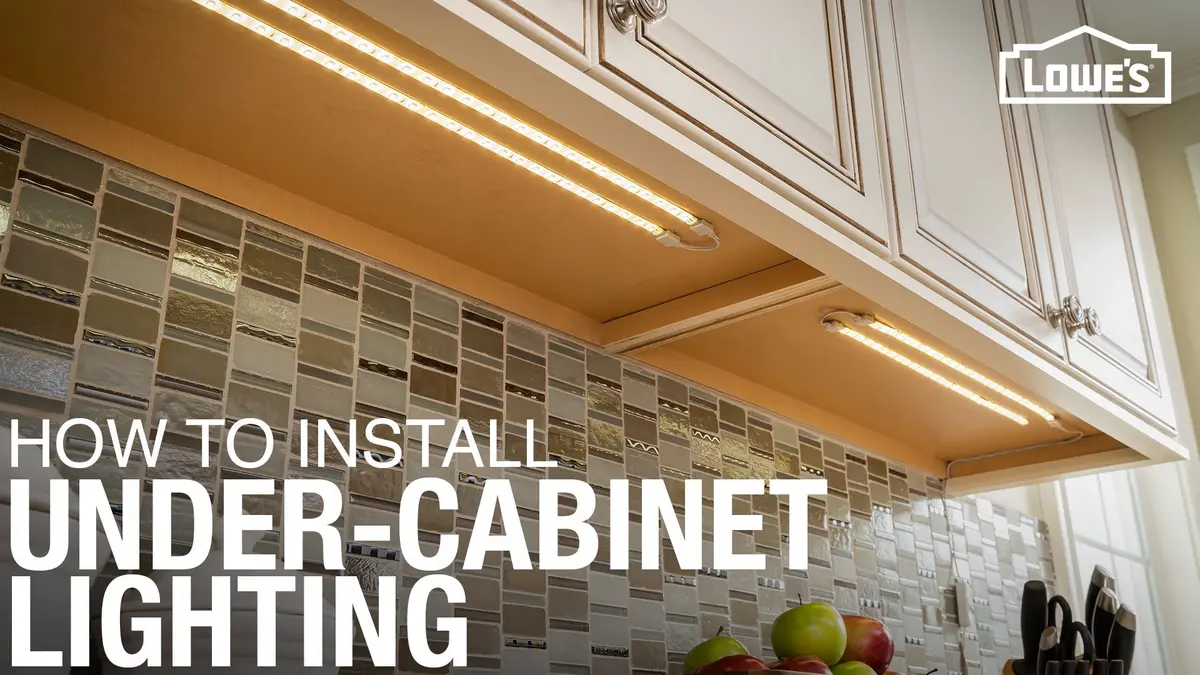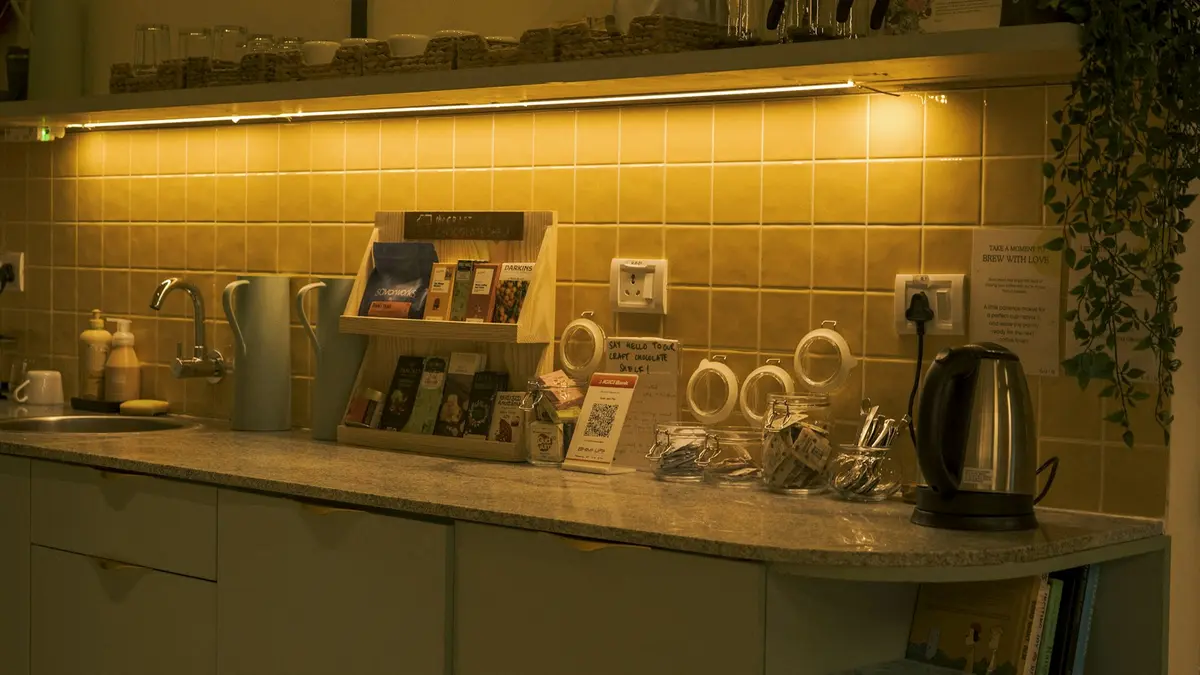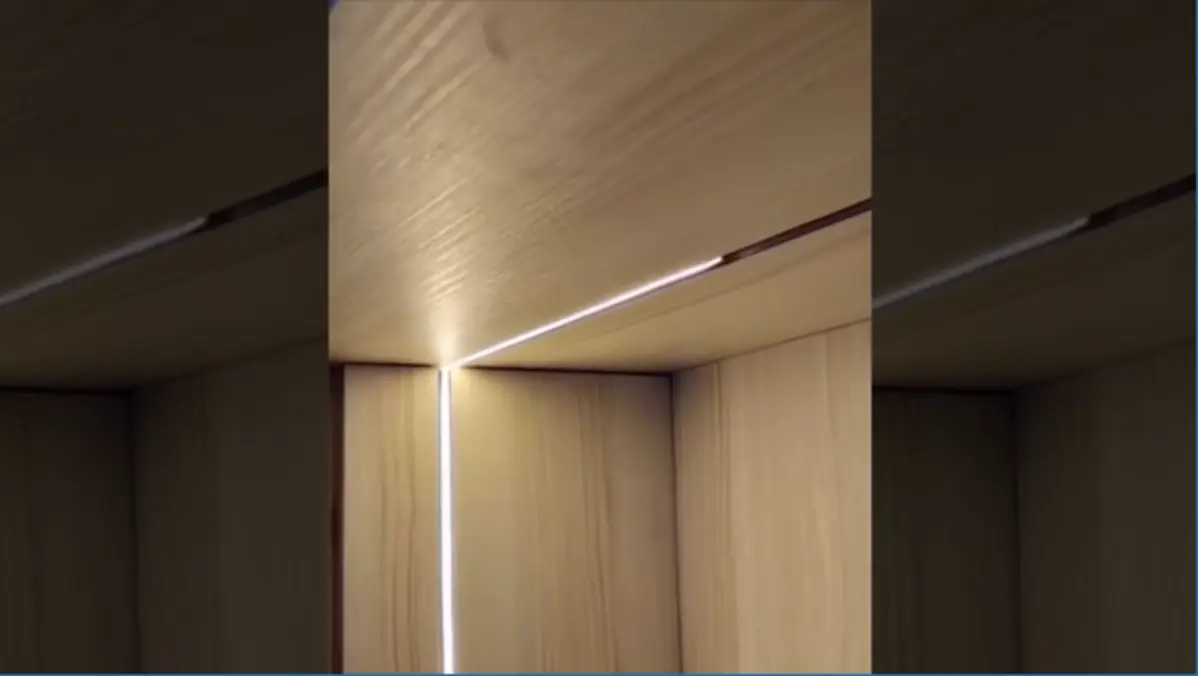
A pre-cut groove is useful, but it does not automatically eliminate the need for an aluminum LED strip channel. The groove conceals the strip and establishes its location. An aluminum channel adds a straighter mounting surface, better support for heat management, physical protection, and a proper seat for a diffuser.
For most visible under-cabinet task lighting, use a recessed aluminum channel with a diffuser if the groove was designed to accept one. A bare strip can be reasonable in a shallow, concealed location with a high-density strip or continuous-light LED tape, modest output, and a cabinet bottom that keeps the individual emitters out of normal view. It is usually the less polished choice over a reflective countertop.
What the routed groove solves—and what it does not
An under cabinet lighting groove can make the installation look built-in. It can recess the light source above the cabinet underside, reduce accidental contact, and hide the strip from someone standing in the kitchen. It may also position the light closer to the front edge, where it can better illuminate the work surface.
But routed wood is not a lighting extrusion. On its own, it does not:
- spread heat away from the LED strip especially well;
- provide a removable lens or diffuser;
- guarantee that the strip will remain straight and firmly bonded over time;
- protect the strip from dust, cleaning splashes, or incidental contact; or
- prevent visible points of light and reflected diode dots on glossy counters.
The key question is not simply whether a groove exists. It is whether the groove was sized for a particular recessed LED strip aluminum channel, and whether the finished appearance you want depends on a diffuser.
The short decision guide
| If your situation is like this | Usually the better approach |
|---|---|
| The LEDs or their countertop reflections will be visible | Aluminum channel with diffuser |
| The routed slot was made to fit a recessed extrusion | Use the matching extrusion and lens |
| You are using a higher-output strip | Use an aluminum channel and confirm the strip's thermal guidance |
| The strip is deeply hidden behind the cabinet front rail | Bare strip may be acceptable |
| You want an uninterrupted, furniture-like finish | Recessed channel with a flush diffuser |
| You may need to replace a strip later | Channel is generally easier to service cleanly |
| The groove is too narrow or shallow for the profile | Rework the groove, choose a compatible profile, or use another fixture type rather than forcing the parts together |
Why aluminum channels are often worthwhile
They improve the visible finish
Bare LED tape often looks acceptable when viewed straight on from across the room. Under-cabinet lighting is different: people regularly see it from below while sitting, loading a dishwasher, or walking through the kitchen. Individual LED points can also reflect as a row of bright dots in polished stone, glass tile, or glossy countertops.
A diffuser softens the direct view of the emitters and gives the installation a more fixture-like appearance. It does reduce some light output, so do not assume that adding a heavily frosted lens to a low-output strip will produce the same task lighting. If you want a smooth line of light, pair the diffuser with a strip dense enough for that result, or select a continuous-light style tape designed to reduce visible spotting.
A diffuser cannot fully correct a sparse strip in a very shallow profile. The distance between the LEDs and the lens matters. A deeper channel can improve blending, but it also requires a deeper cabinet groove and may reduce usable light reaching the counter if the lens is excessively opaque.
They provide a more reliable mounting surface
LED tape's adhesive is convenient, not a permanent structural fastening method in every kitchen. Cabinet undersides may have dust, finish residue, uneven grain, seams, or slight texture. Heat and repeated kitchen temperature changes can further challenge adhesive over time.
A properly fitted aluminum channel creates a flat, stable base for the tape. It also helps maintain a straight line, which is particularly noticeable with a recessed under cabinet LED strip. Many profiles can be mechanically secured within the groove, depending on their design and the cabinet construction. Avoid fasteners that are long enough to penetrate through the cabinet bottom; check the available material thickness carefully before drilling.
They can help with heat management
Heat shortens LED life and can contribute to premature color shift or reduced output. Aluminum transfers heat more readily than wood, so an extrusion can help move heat away from the back of the strip.
That does not mean every aluminum profile makes any strip safe to run at any output. A very tight, fully enclosed groove can limit airflow, and a small lightweight profile may not provide enough thermal mass for a demanding strip. Follow the strip and channel manufacturers' compatibility guidance, particularly for higher-output tape. If the groove is shallow, narrow, or closed at both ends, do not treat it as an ideal heat sink without confirming the system is intended for that installation.
They make cleaning and replacement less awkward
A lens keeps much of the strip's surface away from kitchen dust and grease. It also gives you a defined component to remove for access, rather than peeling a strip out of a raw wooden slot.
Serviceability matters most at wire connections, transitions between cabinets, and power-feed points. Plan those areas before final installation. Leave a practical way to access the driver or power supply and any connections that may need inspection later. Do not permanently bury electrical components where they cannot be accessed or where heat can build up.
When a bare strip in the groove can be enough
Skipping the channel is most defensible when the groove is primarily a concealment detail rather than a visible fixture opening. For example, a strip may sit behind a substantial front lip, point toward the backsplash or counter, and remain difficult to see from normal standing and seated positions.
A bare strip can also be a practical choice when all of these are true:
- The strip has closely spaced emitters or a continuous-looking light surface.
- The countertop is matte rather than highly reflective.
- The lighting level is moderate rather than aggressively bright.
- The groove is clean, straight, and wide enough that the strip will not wrinkle or be compressed.
- You accept that replacement may require removing adhesive from the wood.
Even then, test a short temporary section before committing. Turn on the kitchen's usual evening lighting, stand at the counter, sit nearby, and look at the counter surface. If you see objectionable dots, glare, or a crooked line, a channel and diffuser are likely worth the added work.
Check the groove before choosing a channel
Do not buy a generic profile based only on the fact that it is labeled “recessed.” Measure the groove's width, depth, length, corner treatment, and distance from the cabinet front edge. Then compare those measurements with the channel's body dimensions, flange or lip dimensions, diffuser height, and the maximum strip width it accepts.
A channel should sit without bowing, pinching the diffuser, or requiring excessive force. A profile with small side flanges can hide minor routing imperfections, but its flanges must still sit flat against the cabinet underside. If the routed opening is visibly rough, the flange may conceal it; if the opening is badly uneven, correct the woodwork rather than relying on the lens to disguise it.
Also check how the ends will finish. End caps can make exposed ends neater, but they take space and may affect where wires exit. Plan cable paths before cutting the channel to final length.
Choose the diffuser for the lighting goal
A clear lens offers the least diffusion and often preserves more output, but it does little to hide individual LEDs. A frosted lens is a common compromise for task lighting: it softens the appearance while keeping useful countertop illumination. More opaque or “spotless” lenses can produce a more uniform visible line, though they generally reduce delivered light more noticeably.
For a kitchen counter, prioritize comfortable task light over the brightest possible exposed strip. A diffuser is especially helpful when the channel sits near the front of the cabinet, where the source is easier to see.
Common mistakes to avoid
Assuming every groove fits every extrusion
A groove made for bare tape may be too small for an aluminum channel and lens. Conversely, a wide groove can leave a narrow profile looking unfinished. Confirm the actual profile dimensions before cabinet fabrication or before ordering components.
Putting the strip too far back
A channel may be beautifully recessed but still perform poorly if it is located near the wall. The front of the cabinet can shadow the working area. Placement depends on cabinet construction, backsplash reflections, and the light distribution of the strip, but task lighting generally benefits from being positioned where it can reach the front work area without exposing the source. See our guide to <a href="/guides/where-to-mount-under-cabinet-led-strips/">where to mount under-cabinet LED strips</a> for a fuller placement discussion.
Using a diffuser to solve every hotspot problem
Diffusion depends on strip density, channel depth, lens type, and viewing angle. If the strip has widely spaced LEDs, a shallow frosted cover may only blur the individual dots rather than eliminate them.
Ignoring the rest of the system
The channel is only one part of the installation. Confirm that the strip, driver, dimmer, connectors, and controls are compatible. For hardwired work, concealed wiring, or any question about local electrical rules, have a qualified electrician verify the plan and current requirements. This is particularly important when cabinetry is new and access will be difficult after installation.
Bottom line
For an under cabinet LED strip channel in a cabinet groove, the groove is best understood as preparation for a finished lighting system—not as a substitute for one. Choose a recessed aluminum channel and diffuser when the strip is visible, the counter reflects LED dots, the installation needs a clean built-in appearance, or the strip has meaningful heat output.
A bare strip can work in a well-hidden groove with an appropriate LED tape and modest expectations for finish and serviceability. Before deciding, mock up a short section in the actual cabinet location. The countertop reflections and viewing angles in your kitchen will tell you more than the groove alone.
References
- 7 Common LED Strip FAILS and How To Avoid Them (To make your installations look professional) – The Hook Up. (n.d.). https://www.thesmarthomehookup.com/7-common-led-strip-fails-and-how-to-avoid-them-to-make-your-installations-look-professional
- 6 Placement Guidelines for LED Under Cabinet Lights | BuyRite Electric. (n.d.). https://buyriteelectric.com/blogs/news/6-placement-guidelines-for-led-under-cabinet-lights
- Kitchen Under Cabinet Lighting | Mike Holt's Forum. (n.d.). https://forums.mikeholt.com/threads/kitchen-under-cabinet-lighting.2579996
- Aluminum Channels for LED Strip Lights | Super Bright LEDs. (n.d.). https://www.superbrightleds.com/led-strips-and-bars/aluminum-channels
- Do I need channels for under cabinet lighting if there are grooves?. (n.d.). https://www.reddit.com/r/Lighting/comments/1gzxr2s/do_i_need_channels_for_under_cabinet_lighting_if
- I bought every LED Diffuser channel on Amazon to find the best one. Mission Accomplished.. (n.d.). https://www.youtube.com/watch?v=DKOWeuV1FWE&vl=en
- How to Install Under Cabinet Lighting in the Kitchen Using LED Light Strips. (n.d.). https://justagirlandherblog.com/how-to-install-under-cabinet-lighting
- What Nobody Tells You About LED Under Cabinet Lighting. (n.d.). https://www.youtube.com/watch?v=7-G5784wZN0