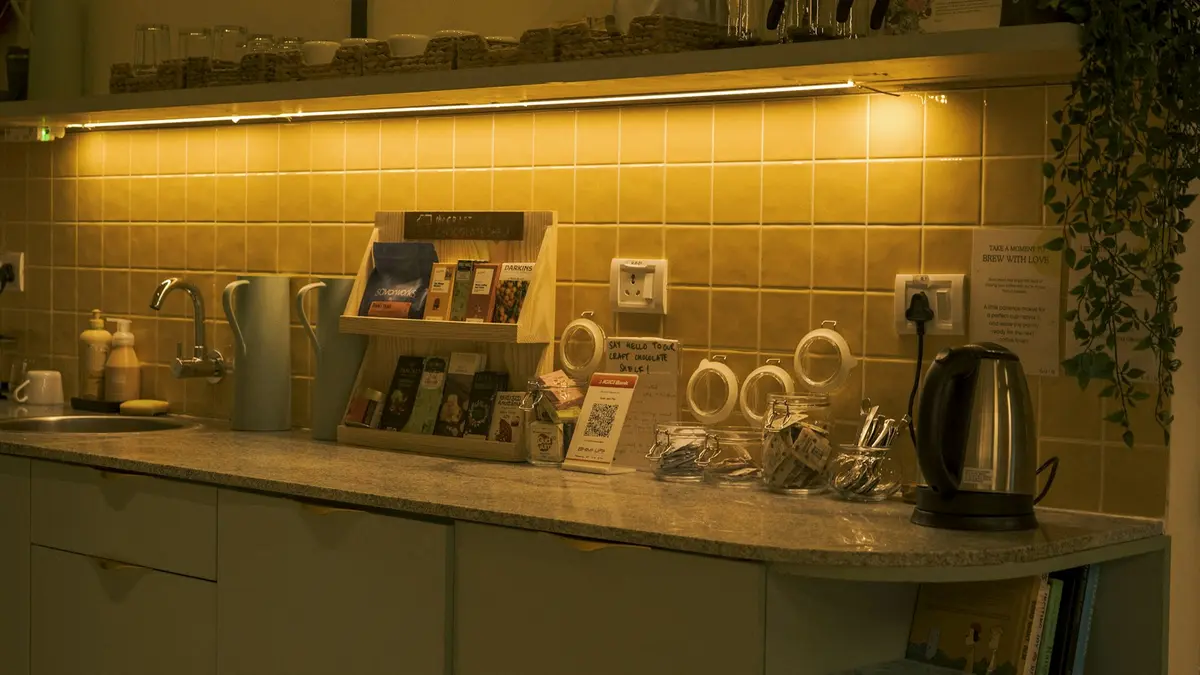
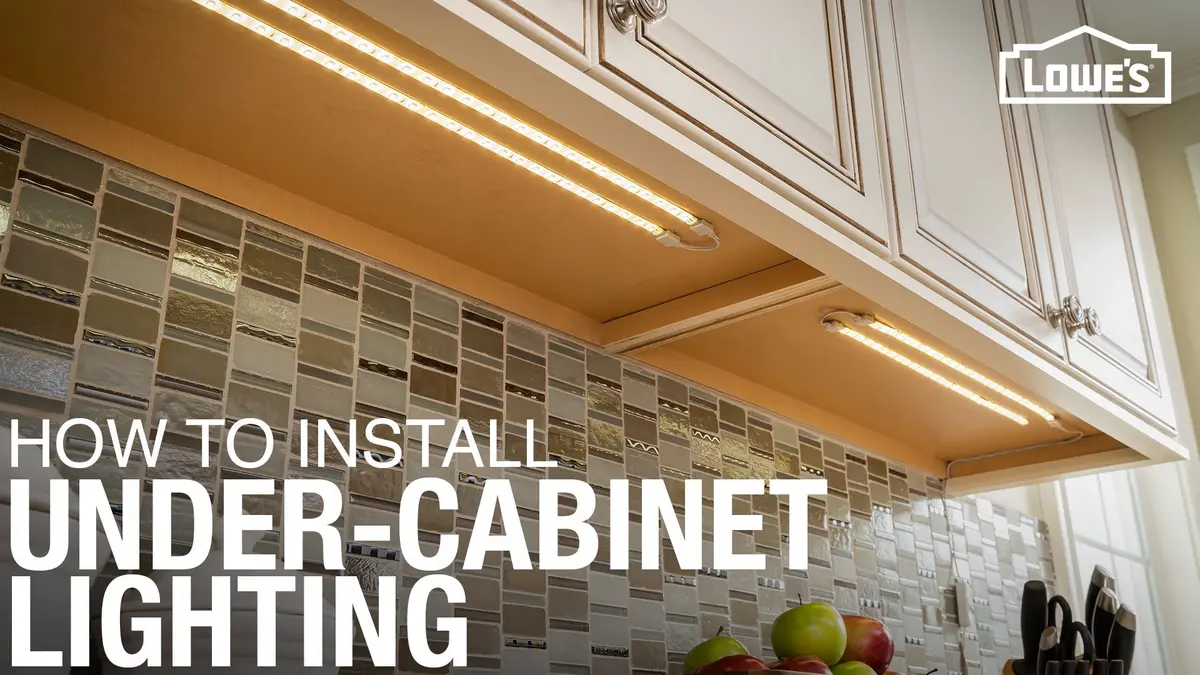
Smart under cabinet and cove lighting works best when it is planned as two separate lighting jobs. Under-cabinet strips should provide practical, dimmable light on the countertop. Cove strips should provide soft indirect ambient light across a ceiling or upper wall. Although both may use LED tape and a smart controller, they usually need different placement, output, and control behavior.
For most kitchens, start with tunable-white, also called CCT, LED strips rather than RGB-only strips. A CCT strip can shift between warm and cool white light while retaining dedicated white-light channels. Pair it with an aluminum profile and diffuser under cabinets, then use a separately controlled indirect strip for the cove. Treat color-changing effects as optional, not as the basis of task lighting.
Start by separating task light from ambient light
The easiest way to make poor choices is to specify every strip in the kitchen as though it has the same purpose.
| Zone | Primary job | What matters most | Typical control approach |
|---|---|---|---|
| Under cabinets | See food, work surfaces, and small tasks | Even countertop coverage, good white-light quality, low glare, smooth dimming | Separate smart zone, often linked to kitchen task scenes |
| Cove or upper ledge | Make the room feel less stark and add background light | Concealment, smooth ceiling or wall wash, low visible brightness | Separate smart zone for evening and entertaining scenes |
| Decorative shelf or toe-kick | Accent and wayfinding | Low output and restrained use | Optional separate zone or grouped with ambient lighting |
Under-cabinet lighting must illuminate the front working area of the counter, not merely make the backsplash glow. Cove lighting should not look like an exposed line of LEDs. Its light is meant to arrive indirectly after reflecting from a ceiling or wall.
Keeping these zones separate gives you more useful scenes. During food preparation, the under-cabinet lights can be bright and neutral while cove lighting remains modest. Late at night, task lighting can dim very low or stay off while the cove provides a gentler path through the kitchen.
Choose CCT LED strips for the white light you will actually use
A CCT LED strip has two white channels, usually one warm and one cool. Its controller blends them to create intermediate color temperatures. This is usually the most relevant format for smart kitchen task lighting because it allows changes in mood without relying on red, green, and blue emitters to make white.
Look at the strip's published specifications before choosing it:
- Color-temperature range: A range that includes warm evening light and a more neutral daytime setting is generally more flexible than a fixed-color strip. Decide whether you actually want cool settings before paying for a very broad range.
- Color rendering information: For food preparation and finishes, choose a strip with credible color-rendering data from the manufacturer. High color rendering can help colors appear more natural, but it does not replace good placement or adequate output. Our guide to what CRI means in lighting explains what this specification can and cannot tell you.
- Output per length: Compare output at the color temperature you expect to use, not only the highest headline number. Some strips vary noticeably in output between their warm and cool channels.
- LED density and optical finish: Higher-density strips and COB-style strips can reduce visible points of light. They are helpful in shallow profiles, reflective kitchens, and locations where the diffuser may be visible.
- Strip width: Confirm that the tape will fit the selected profile, including bends, connectors, and the diffuser channel.
RGBW or RGB+CCT strips can be appropriate in a cove where occasional colored scenes matter. For a countertop, however, dedicated tunable-white strips are generally the simpler, more purposeful choice. A strip that produces attractive saturated colors may still provide unconvincing or inconsistent white light for food and work surfaces.
Select an aluminum profile before buying the strip
An under-cabinet lighting aluminum profile is more than trim. It provides a straighter mounting surface, protects the strip, holds a diffuser, and can help manage heat. It also gives the installation a deliberate edge rather than the appearance of adhesive tape stuck beneath cabinetry.
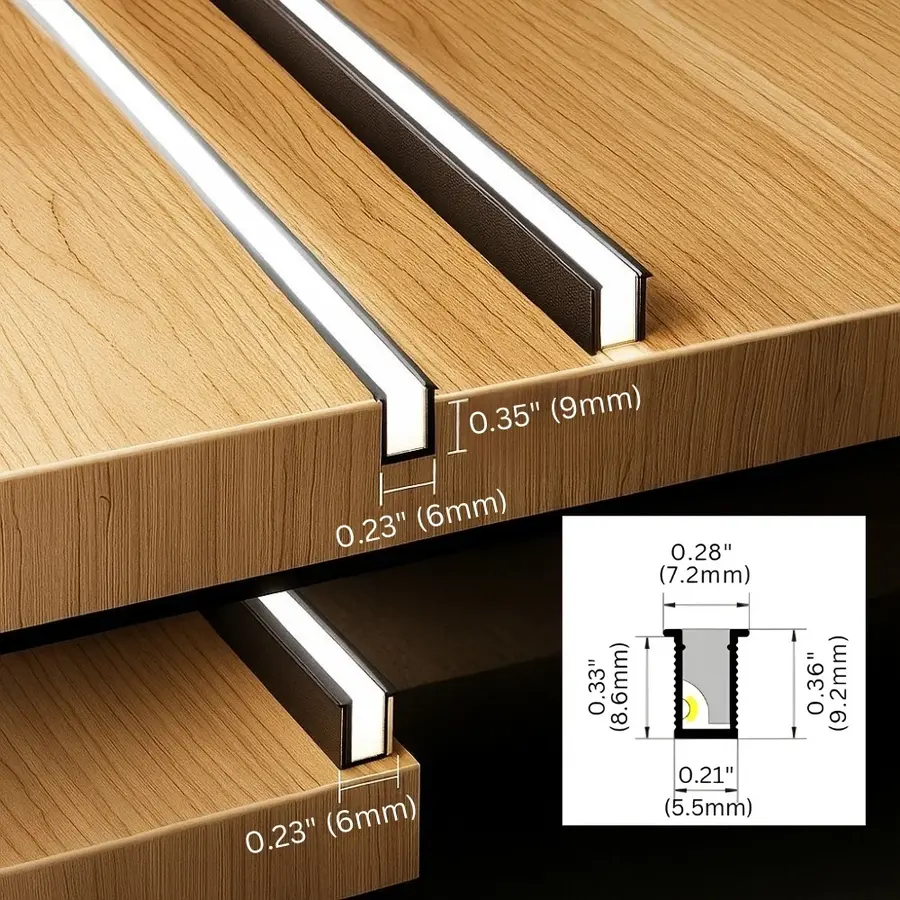
For under cabinets, profile shape and position matter as much as the strip itself.
Use a profile that directs light toward the work surface
A shallow surface-mounted channel is often the practical choice where cutting into cabinetry is not desirable. Recessed channels can look more integrated, but they require accurately sized grooves and sufficient cabinet material. Angled profiles can be useful when cabinet geometry makes a direct downward strip uncomfortable to view, though they should still send enough light toward the counter.
Mounting near the front underside of the cabinet often improves task coverage because light reaches the front of the work surface. But there is no universal location: glossy stone, glass tile, a polished backsplash, cabinet depth, and the viewer's eye level can all change glare. Before committing, temporarily tape a short strip in two or three positions and view it while standing, sitting, and working at the counter.
For more placement detail, see where to mount under-cabinet LED strips.
Diffusers trade a little output for a better visual result
A diffuser can soften visible LED points and reduce the harshness of a bright line under a cabinet. Frosted covers hide dots better than clear covers, but they also reduce delivered light. With a suitably bright strip, that trade is often worthwhile in a kitchen.
Do not assume a diffuser will cure every glare problem. A very bright strip, a shiny backsplash, or a poorly positioned channel can still create unpleasant reflections. The most effective glare control is usually a combination of concealment, positioning, surface selection, and sensible dimming.
Plan cove lighting as an indirect surface wash
Cove lighting should illuminate a ceiling or upper wall, not expose the LEDs directly to normal sightlines. The strip needs a lip, molding, recess, or purpose-made profile that hides the source while leaving a clear path for light to spread across the reflecting surface.
A white or light-colored matte ceiling generally produces a calmer wash than a dark or glossy surface. If the ceiling has strong texture, seams, or uneven paint, indirect light may reveal those imperfections more clearly. A short test run is especially valuable for cove lighting because the beam pattern can be difficult to predict from drawings alone.
Cove light usually needs less apparent brightness than task lighting. If it competes with the countertop lighting, it can flatten the room and make the ceiling feel distracting. Put it on its own controller channel or smart zone so it can run at a low level in the evening without changing the task-light setting.
Match the controller to the strip and your control system
First identify whether the strip is an analog constant-voltage CCT strip or a digitally addressable strip. Most practical tunable-white kitchen installations use analog CCT tape with separate warm-white and cool-white channels. The controller adjusts those channels together to set brightness and color temperature.
A controller must match the strip format. A controller intended for a single-color strip cannot independently manage two white channels. A controller designed for addressable pixels is not a substitute for a CCT controller just because both are described as smart LED controllers.
When comparing smart LED strip controllers, consider these questions:
- Does it support CCT control rather than only on/off or single-color dimming?
- Is its supported load appropriate for the planned strip length and power supply?
- Does it provide the ecosystem you actually use: a manufacturer's app, a hub-based system, a local automation platform, or Matter support through a compatible bridge?
- Can it recover sensibly after a power interruption?
- Does it support local wall control as well as phone and voice control?
- Does it dim smoothly at the low end without obvious stepping, flicker, or sudden shutoff?
Matter can simplify cross-platform control in some systems, but compatibility still depends on the particular controller, bridge, and chosen smart-home platform. Confirm current support from the manufacturer rather than assuming every device labeled "smart" or "Matter-compatible" will expose the same controls.
For a kitchen, physical control remains important. A wall keypad, compatible smart switch, or well-placed wireless button is often more convenient than opening an app with wet or messy hands. Consider scenes such as "prep," "clean," "evening," and "night," but make sure household members can still turn lights on and off simply.
Size the power supply and locate it for future service
The power supply, controller, wiring, and connectors are part of the system, not accessories to choose at the end. Add the stated power consumption for every planned strip length, then select a compatible power supply with appropriate allowance rather than operating it at its limit. Follow the strip, controller, and power-supply documentation as a matched system.
Long strip runs can show uneven brightness or a shift in color temperature toward the far end if the distribution design is poor. This is a planning issue to solve before cabinetry is closed or coves are finished. The manufacturer may specify maximum continuous run lengths and recommended connection arrangements; use those instructions as a starting point.
Place power supplies and controllers where they can be reached for troubleshooting or replacement, while keeping them appropriately protected from kitchen conditions. Avoid burying equipment permanently behind a fixed finish with no service access. Also account for space around components and any ventilation or installation limitations stated by their manufacturers.
Electrical installation details, access requirements, product listings, conductor selection, and rules for kitchens vary by location and project conditions. Verify current local requirements and use a qualified electrician where the work involves mains connections, new circuits, concealed wiring, or uncertainty about compliance.
Test a small section before committing
A sample installation can prevent expensive visual mistakes. Use the actual strip, profile, diffuser, controller, power supply, and a representative backsplash or ceiling surface if possible.
Test it at the color temperatures and dimming levels you expect to use. Look for visible dots, reflections, shadows at the counter edge, color inconsistency, controller noise, delayed response, and whether the lowest setting is truly useful at night. Check the cove from the usual seating and entry views as well as from directly below it.
This is particularly important when combining smart lighting with glossy finishes. A system can appear excellent in a product photo yet produce distracting reflected points in a real kitchen.
Common selection mistakes
Choosing RGB-only strips for countertop work
RGB strips are enjoyable for decorative scenes, but they are not the most dependable route to usable white task light. Start with CCT strips when white light is the main requirement.
Treating the entire kitchen as one smart zone
Grouping under-cabinet and cove lighting together removes the ability to use each layer properly. Separate zones make the system more adaptable and can reduce glare at night.
Sticking bare tape directly under cabinets
Adhesive-only mounting may be quick, but it can look unfinished and may not remain straight over time. A profile with diffuser is usually easier to clean, more visually controlled, and more serviceable.
Selecting controllers after installation
Controller compatibility affects strip type, zone layout, power planning, and how the lights respond to wall controls. Decide the control approach early.
Ignoring service access
A concealed power supply or controller will eventually be difficult to diagnose or replace if no access was planned. Design the lighting detail with maintenance in mind.
A practical specification approach
For most homeowners, a restrained smart kitchen strip-light plan looks like this: a dedicated CCT strip in a diffused aluminum profile under each cabinet run; one smart CCT controller for the task-light zone; a separate CCT or optional RGB+CCT system concealed in the cove; and accessible power and control equipment planned before final finishes.
The goal is not to make every surface change color. It is to give the countertop clear, comfortable light and give the room a quieter layer of indirect illumination when full task lighting is unnecessary. If you establish those two jobs first, strip type, profiles, controllers, and scenes become much easier to choose.
References
- Best smart lighting recommendations for kitchen under-cabinet lights and indirect cove lighting? : r/smarthome. (n.d.). https://www.reddit.com/r/smarthome/comments/1tzlpfp/best_smart_lighting_recommendations_for_kitchen
- Want to update kitchen under-cabinet lighting with LED .... (n.d.). https://www.ar15.com/forums/t_1_5/2814030_Want-to-update-kitchen-under-cabinet-lighting-with-LED--and-have-it-work-with-Home-Assistant-.html
- Best Under-Cabinet LED Strip Lights for Kitchen .... (n.d.). https://eu.aqara.com/en-eu/blogs/news/best-under-cabinet-led-strip-lights-for-kitchen-lighting
- Kitchen Under Cabinet Lighting – Tech'd Out. (n.d.). https://techdout.dev/2021/11/12/under-cabinet-lighting
- How to Prevent LED Glare From Smart Under Cabinet Lighting? - Bright Space Reviews. (n.d.). https://brightspacereviews.com/how-to-prevent-led-glare-from-smart-under-cabinet-lighting
- Matter - Home Assistant. (n.d.). https://www.home-assistant.io/integrations/matter
- Installing Smart Kitchen Under Cabinet Lights — Controlled by Home Assistant!. (n.d.). https://www.youtube.com/watch?v=WGoeaqHLbD8
- Under Cabinet Lighting : r/homeassistant. (n.d.). https://www.reddit.com/r/homeassistant/comments/1h24phi/under_cabinet_lighting