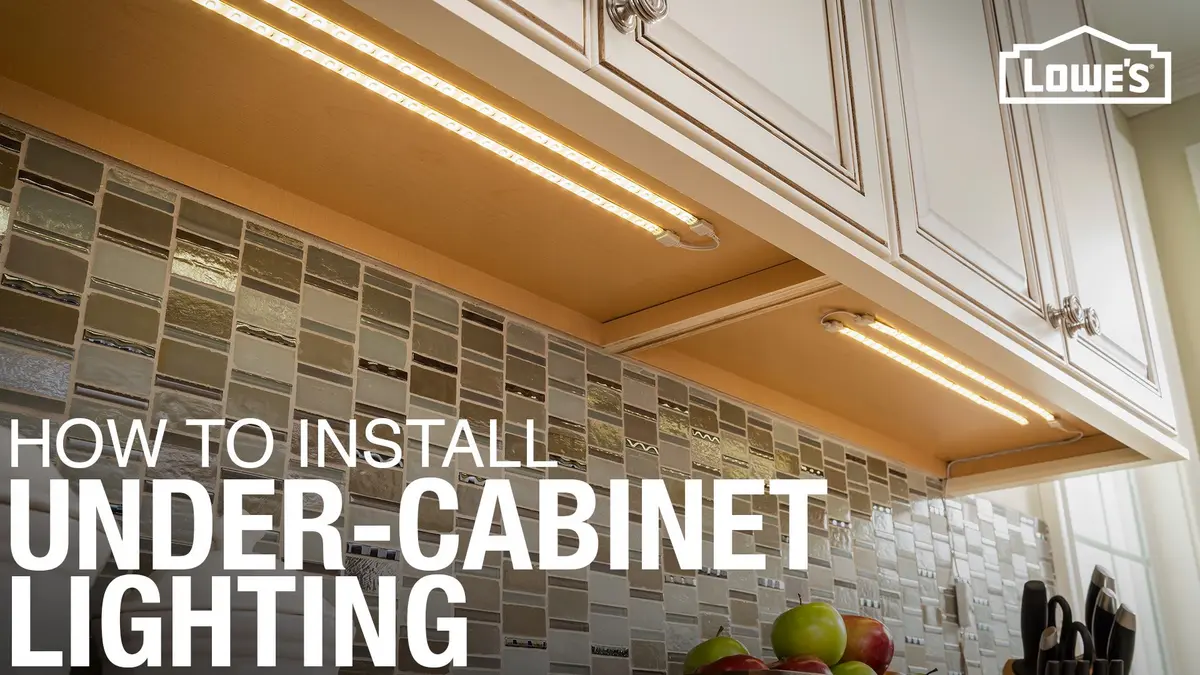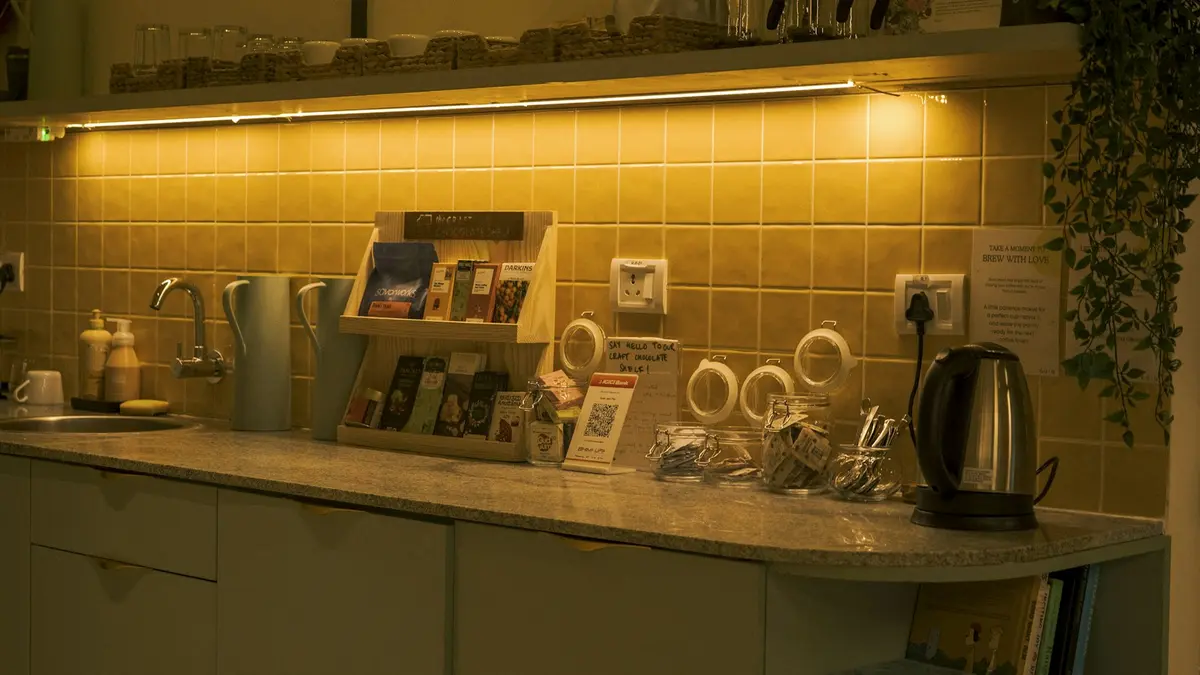
For most kitchens, mount an under-cabinet LED strip near the front of the upper cabinet bottom: usually just behind the front rail, lip, or face frame rather than directly at the outermost edge. This sends light across the working part of the countertop and reduces the shadow cast by your body while standing at the counter.
That starting point is not universal. A polished stone, glossy quartz, stainless steel appliance surface, deep cabinet lip, or exposed LED tape can create glare and reflected dots. Where to mount under cabinet LED strips ultimately depends on what you can see from normal standing height, where you work on the counter, and how the light source reflects in the countertop.
The default position: near the front, concealed from view
Place the strip or aluminum channel roughly 1 to 2 inches behind the cabinet front edge, measured from the visible cabinet face toward the wall. The exact distance matters less than these two outcomes:
- The LEDs are hidden when you stand or sit in the kitchen.
- The light reaches the front half of the countertop, where chopping, mixing, and reading usually happen.
A front-biased position puts the source closer to the work zone. It also reduces the shadow that occurs when your torso blocks light from a strip mounted too far toward the backsplash.
Do not interpret “front” as mounting the tape where individual LEDs are plainly visible from across the room. The face frame, cabinet bottom lip, or a channel with diffuser should shield the source. A concealed strip can still be close to the front edge.
Why rear and center mounting often causes problems
At the back, close to the backsplash
A strip mounted near the wall primarily washes the backsplash and rear counter. That can look attractive, especially with tile, but it is often weaker as task lighting. Your hands and body may cast a shadow over the central and front areas of the counter.
A rear position can also waste light. LED tape has a broad beam, so a strip pressed close to the wall sends a substantial portion of its output onto the backsplash instead of across the countertop. Flexfire LEDs similarly advises against mounting tape directly against the back wall because the broad beam can cause light loss and excessive illumination at the back of the counter.
Use a rearward position deliberately when backsplash emphasis is the main goal, not by default for food-preparation light.
In the center of the cabinet bottom
Center mounting is a compromise, but it often keeps the source exposed to view while providing neither the strongest forward task light nor the cleanest backsplash wash. It may work under very shallow cabinets or where a large front lip already blocks direct view, but it is usually not the first position to try.
If you are choosing between center and front placement, start near the front and move back only if the countertop produces uncomfortable reflections.
Adjust placement for the countertop finish
Countertop reflectivity is the main reason a theoretically good front location can look wrong in a finished kitchen.
Matte or lightly textured counters
Matte laminate, honed stone, wood, concrete-look surfaces, and many textured finishes generally tolerate a front-biased strip well. These finishes scatter reflections rather than producing a crisp image of each diode.
Keep the strip near the front rail and aim it downward. A diffuser still improves the appearance of the light, but glare is less likely to dictate the mounting position.
Glossy, polished, or dark counters
Polished granite, glossy quartz, dark stone, glass-like surfaces, and some solid surfaces can reflect the LED tape as a row of bright dots. The reflection may be more distracting than the light itself.
For these counters, try one or more of the following:
- Move the strip slightly back, while keeping enough forward reach for the work surface.
- Install the strip in an aluminum channel with an opaque or frosted diffuser.
- Use a denser LED strip so individual emitters are less apparent through the diffuser and in reflections.
- Angle the channel slightly toward the backsplash rather than straight down.
- Dim the strip to the lowest level that still provides useful task light.
KraftMaid notes that reflective countertops may benefit from a strip mounted inside the back of the face frame and directed toward the backsplash. That approach can control glare, but it should be tested first: moving light too far back can reintroduce countertop shadows.
Let the cabinet construction determine the exact line
Look underneath each cabinet before deciding on a channel location. Cabinets that appear similar from the front can have very different undersides.
Face frames and front lips
A face-frame cabinet often has a recessed bottom panel behind a projecting front rail. The inside edge of that rail is an excellent hiding place for a strip or channel. It keeps the source out of direct view while preserving a forward location.
If the cabinet has a deep bottom lip, mount the channel just behind it. The lip acts as a small glare shield. Avoid placing the strip so far behind the lip that the lip blocks the light from reaching the front counter.
Frameless cabinets with flat bottoms
Flat-bottom frameless cabinets offer fewer natural hiding places. A surface-mounted aluminum channel with a diffuser is usually cleaner than exposed tape. Position it near the front edge, then use the channel profile to control what is visible.
A slim, straight channel directs light downward. A 45-degree corner channel can direct more light toward the backsplash or away from a troublesome countertop reflection. The angled option is useful when the strip must sit near the front but direct downward light creates glare from a glossy surface.
Uneven cabinet bottoms
Cabinet bottoms may include seams, screw heads, recessed panels, or trim that prevents a channel from sitting flat. Do not force a channel into a twisted or unsupported position. A slightly adjusted line that is straight and secure will look better than an idealized location that leaves the diffuser uneven.
Choose channel orientation before committing to tape
An aluminum channel does more than make LED tape look finished. It establishes the LED angle, provides a mounting surface, and usually accepts a diffuser that softens visible points of light.
Use these general orientations:
| Kitchen condition | Useful channel position | Reason |
|---|---|---|
| Matte counter and typical cabinet lip | Straight channel near the front, facing down | Gives broad task light across the counter |
| Glossy or dark reflective counter | Straight channel moved modestly back, or angled channel | Reduces direct reflections and visible diode images |
| Decorative backsplash is the priority | Channel farther back, aimed toward backsplash | Creates a stronger wall wash, with less forward task light |
| Flat cabinet bottom with no lip | Diffused channel near front edge | Hides the source better than exposed tape |
A diffuser reduces the appearance of dots, but it cannot fully correct poor placement. If a bright reflected line remains visible in a polished counter, change the location or angle before assuming a different diffuser will solve it.
Use a temporary mock-up before permanent installation
The most reliable way to choose a location is to test the actual strip, channel, countertop, and cabinet together. Small differences in cabinet depth and reflection angle are difficult to predict from measurements alone.
A practical mock-up method
- Clean the cabinet underside lightly so temporary painter's tape can hold a sample channel or strip.
- Start with the strip or channel about 1 to 2 inches behind the cabinet front.
- Power the strip at its intended brightness and color temperature.
- Stand at normal locations: at the sink, at the main prep area, and across the room.
- Look for visible LEDs, bright reflected dots, and shadows from your body and hands.
- Place a cutting board near the counter front and work over it to check usable task light.
- Move the mock-up back in small increments if glare is distracting, or forward if the counter front is dim.
- Repeat under several cabinets, especially those over dark counters, sinks, or high-gloss surfaces.
A straightedge, scrap wood strip, or the empty channel can help establish a consistent line before you apply adhesive or drill mounting holes. Mark the final position with low-tack tape or a pencil line that can be removed after installation.
Test the lights at night as well as during the day. Daylight can conceal reflections and make a poor placement seem acceptable until evening.
Common placement mistakes
Mounting exposed LED tape at the very front edge
This may light the counter well, but it often exposes individual emitters to anyone entering the kitchen. It can also create a strong reflection on polished counters. Set the strip behind the lip or use a diffused channel.
Pushing the strip all the way to the backsplash
This creates an attractive backsplash glow but can leave the main work area underlit. If you want both effects, prioritize the task-light location and choose a channel angle or a second lighting layer for the backsplash.
Installing every cabinet run at exactly the same offset
Uniform placement is visually neat, but cabinet depth, appliance surrounds, and countertop materials may vary. Keep the visible alignment consistent where possible, while adjusting angle or channel type where reflections differ.
Ignoring the sink and corner cabinets
The sink is a frequent task area, and corner sections can have unusual shadows. Mock up these areas separately rather than assuming the placement used on a straight run will work everywhere.
Treating the diffuser as a cure-all
A diffuser helps conceal LED points and softens the light source. It does not eliminate glare caused by a source that is directly visible or reflected at eye level. Placement and aiming come first.
A simple decision rule
If your countertop is matte and your upper cabinets have a front lip, mount a diffused strip just behind that lip, aimed straight down. This is the most reliable arrangement for useful countertop lighting.
If your countertop is polished or very dark, begin in the same general area but test a slightly rearward position and an angled channel. Stop when the light still reaches the front work zone without producing an obvious line or row of LED dots in the counter.
For the broader installation sequence, including power supply and control planning, see our guide to under-cabinet lighting installation. If color rendering is part of your kitchen-lighting decision, our explanation of what CRI means in lighting can help you compare strip specifications.
If the installation involves new hardwired connections, concealed cable routing, or uncertainty about local electrical requirements, confirm the current rules for your area or use a qualified electrician. The best mounting line is only useful if the finished installation is also secure and appropriate for the cabinet construction.
References
- Under Cabinet Lighting Placement Guide - KraftMaid. (n.d.). https://www.kraftmaid.com/kraftmaid/your-under-cabinet-kitchen-lighting-guide
- Where Should Under Cabinet Lights Be Mounted? – Lumaz. (n.d.). https://lumazlife.com/blogs/under-cabinet-lighting/where-should-under-cabinet-lights-be-mounted
- For under cabinet LED strip lights where do you mount the ... - Reddit. (n.d.). https://www.reddit.com/r/Lighting/comments/1ooaeay/for_under_cabinet_led_strip_lights_where_do_you
- Full Guide: Easy LED Strip Under Cabinet Installs | Flexfire LEDs. (n.d.). https://flexfireleds.com/how-to-choose-and-install-under-cabinet-lighting
- 5 Tips of Permanent Above Cabinet Lighting Installation. (n.d.). https://www.superlightingled.com/blog/5-tips-of-permanent-above-cabinet-lighting-installation
- Where to mount Under Cabinet LED Lighting | Inspired LED Blog. (n.d.). https://www.inspiredled.com/inspired-led-products/install-under-cabinet-led-lighting
- Where To Position under Cabinet Led Lighting? - Brightlx. (n.d.). https://www.lensblx.com/where-to-position-under-cabinet-led-lighting.html
- 6 Placement Guidelines for LED Under Cabinet Lights | BuyRite Electric. (n.d.). https://buyriteelectric.com/blogs/news/6-placement-guidelines-for-led-under-cabinet-lights