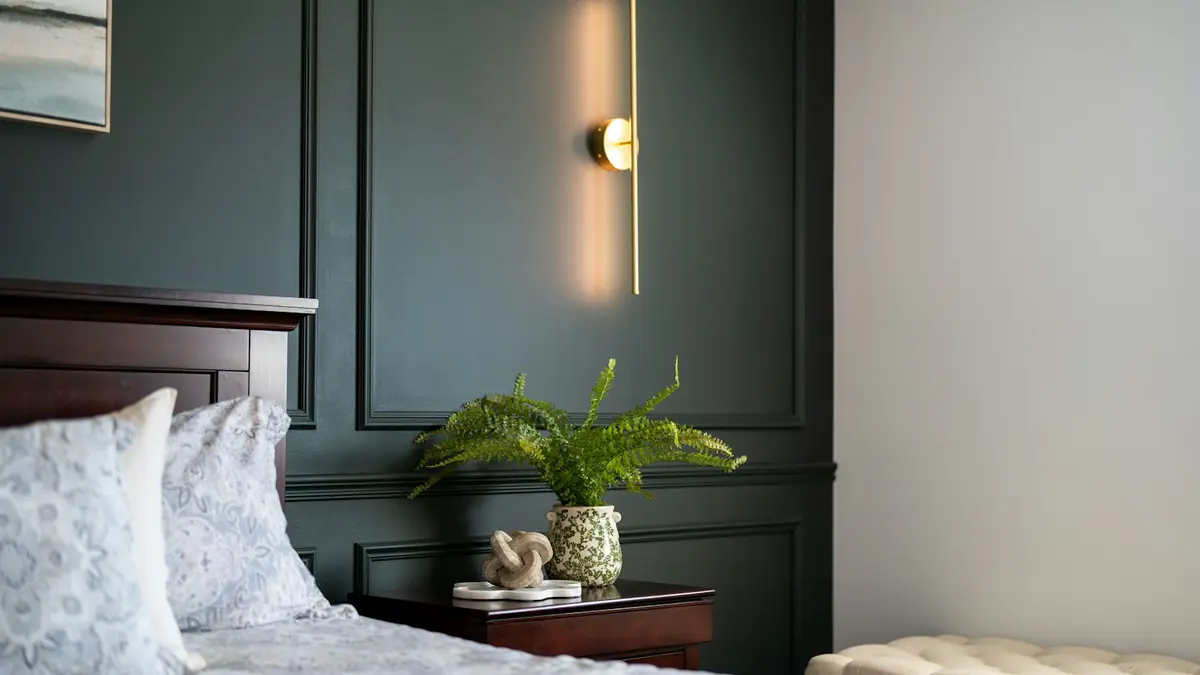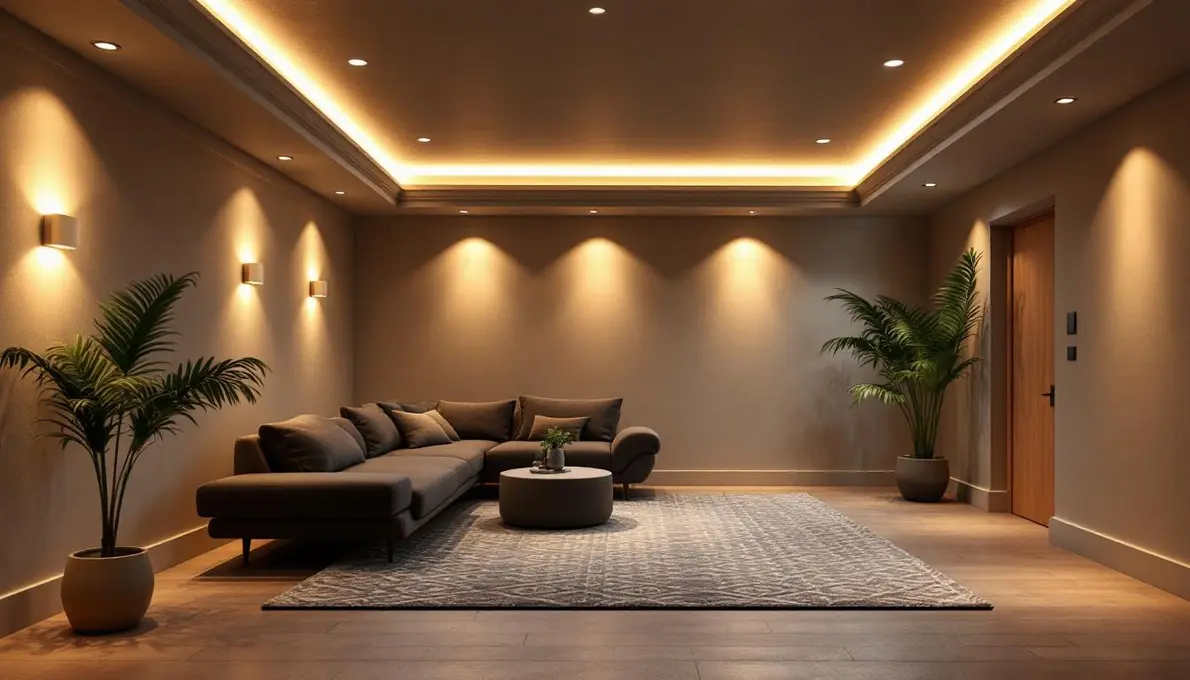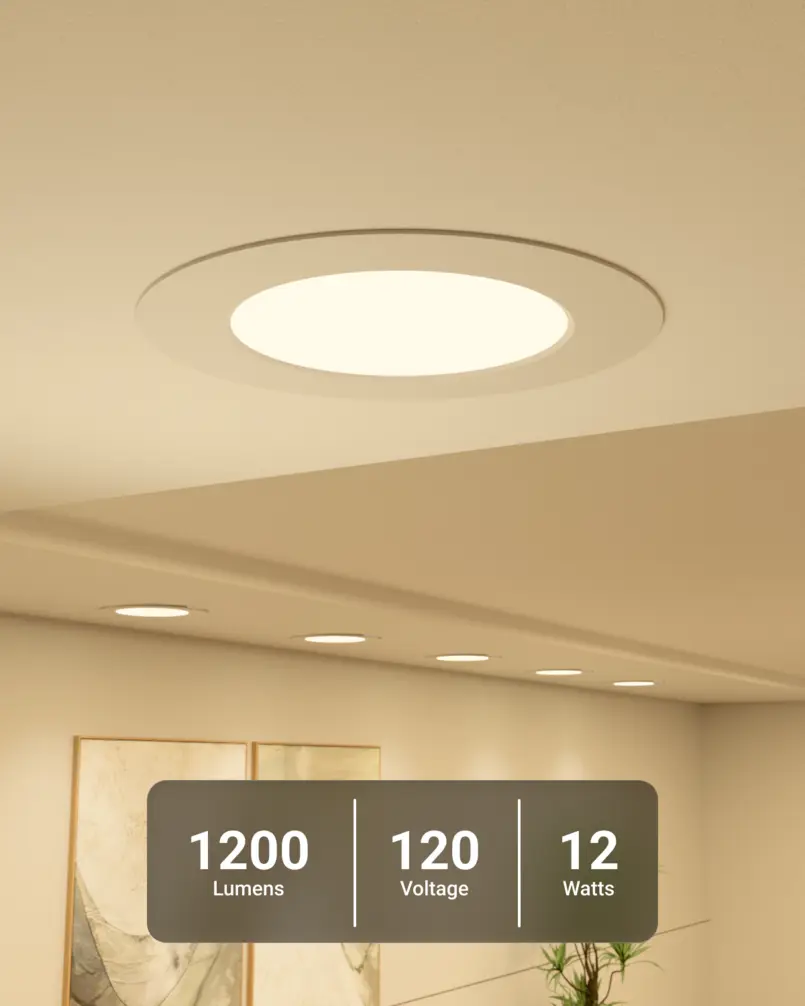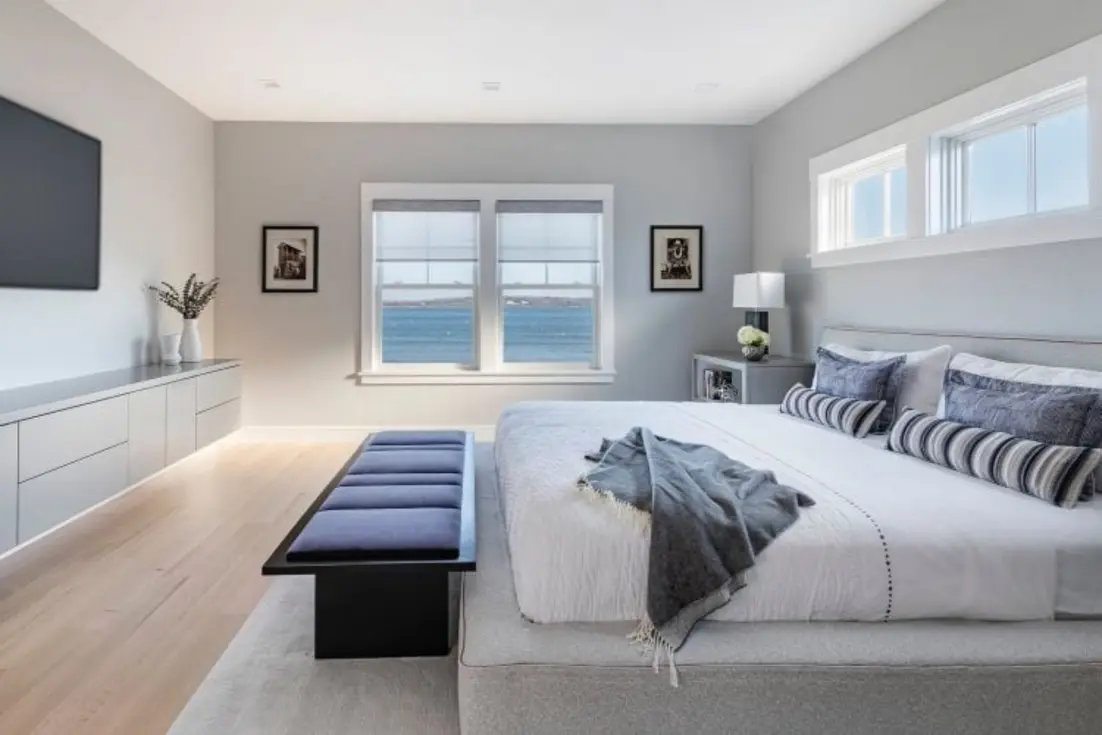
Recessed lights can work in a bedroom, but they are usually most successful as a separate, dimmed utility layer—not the room’s main evening lighting. Use them for making the bed, choosing clothes, vacuuming, or occasional full-room light. For reading, winding down, and getting into bed, bedside lamps, wall lights, or other lower-level sources are generally more comfortable.
A good bedroom recessed lighting layout is often smaller than homeowners expect: two carefully placed downlights in a small room, or four in a larger rectangular room. Keep fixtures away from the area directly over pillows and avoid filling the ceiling with a central grid. The goal is usable coverage when needed, with fewer bright points visible while lying down.
Start with the bedroom’s real lighting jobs
A bedroom has conflicting needs. It needs enough light to clean safely and find clothing, but it also needs a low-stimulation atmosphere at night. One ceiling layer cannot do both jobs especially well.
Plan the room in layers:
| Lighting job | Suitable source | How recessed lights fit |
|---|---|---|
| Cleaning, packing, dressing, making the bed | Recessed downlights or a ceiling fixture | Useful as an occasional bright layer |
| Reading in bed | Bedside lamp, wall-mounted reading light, or directional sconce | Downlights are a poor substitute because they can shine into the eyes or cast shadows on a book |
| Relaxing before sleep | Bedside lamps, wall lights, indirect lighting | Keep recessed lights off or dimmed very low |
| Night navigation | Low-level plug-in, toe-kick, or motion-controlled light | Recessed lights are usually too bright for this job |
This approach prevents a common mistake: installing enough recessed fixtures to light every part of the room brightly, then finding the ceiling feels visually busy and uncomfortable every evening.
When recessed lights are worth adding
Bedroom downlights are most worthwhile when the room lacks a useful central fixture, has a walk-in closet or dressing zone that needs broad light, or needs a practical bright setting for cleaning. They can also suit bedrooms with low ceilings, where a pendant or larger decorative fixture would hang too low.
They are less necessary when bedside lamps and a central ceiling light already provide the room’s main tasks. In that case, adding many downlights may create ceiling clutter without solving a real problem. Some designers avoid recessed lighting in bedrooms altogether because lamps and wall fixtures can provide a more restful result. That is a reasonable choice, particularly in a small bedroom with adequate daylight and good bedside lighting.
If you do add downlights, treat them as a support layer. Put them on their own dimmer, separate from bedside and decorative lighting.
Choose a minimal bedroom recessed lighting layout
The best layout depends on room shape, ceiling height, furniture placement, and the light distribution of the actual fixture. General spacing rules are only starting points. A commonly cited approach is to space recessed fixtures approximately half the ceiling height apart, then adjust for beam spread and the room’s needs. Fixture specifications matter: a wider beam can cover more area, while a narrower beam may require a different placement plan.
For bedrooms, begin with the fewest fixtures likely to cover the practical tasks. You can always add another source on paper before installation; removing an unnecessary ceiling cut is harder.
Small bedroom: two downlights can be enough
In a compact bedroom, use two recessed lights on the room’s long axis, positioned away from the bed’s head area. This can work well where one fixture helps light the entry or closet side and the other supports the open floor area or foot of the bed.
Avoid centering one fixture directly over each sleeper. When someone lies back and looks upward, a bright lens in that view is far more noticeable than the same fixture would be in a kitchen or hallway.
Standard rectangular bedroom: a restrained four-light perimeter
For a larger bedroom, four downlights can provide useful general coverage without making the ceiling look crowded. Rather than putting all four in a tight central rectangle, move the layout outward toward the perimeter while maintaining a balanced pattern.
A practical arrangement often places fixtures toward the corners or along the room’s outer zones, with attention to what each light is doing:
- One or two fixtures can support the closet, dresser, or bedroom entry.
- One or two can brighten the open floor near the foot or sides of the bed.
- Keep the brightest apertures out of the direct upward view from the pillows where possible.
- Do not place a downlight solely because a symmetrical grid says there should be one there.
Corner or perimeter placement does not mean pressing fixtures against the walls. A light too close to a wall may produce an overly bright vertical strip while leaving the center less useful. Instead, use the fixture’s beam angle and ceiling height to establish a reasonable offset, then check the resulting light pattern.
Large bedrooms and bedrooms with a sitting area
A larger room may need more than four fixtures, but divide it into functional zones before adding a uniform grid. The sleeping zone can remain lightly covered, while a dressing area, closet wall, or seating area may justify additional light.
This is especially important in a bedroom with a desk or vanity. Those tasks may need their own dedicated lighting instead of relying on broad overhead illumination. A task light closer to the work surface will usually be more useful and can let the recessed layer stay modest.
Prevent recessed lights in bedroom glare
Glare is not only about total brightness. It is also about seeing a very bright light source against a darker ceiling, particularly when reclining. A layout that seems fine while standing can feel harsh from the bed.
Use these design choices to reduce recessed lights in bedroom glare:
Keep fixtures away from the pillow zone
Do not locate a downlight directly above the head of the bed or immediately in front of it where it becomes a prominent point in the normal sightline. If the bed position is not final, decide it before finalizing the ceiling plan.
Prefer regressed or deep-baffle trims
A regressed downlight sets the light source deeper in the ceiling aperture. This can reduce direct visibility of the brightest component compared with a shallow, flush lens. Deep baffles and glare-controlled trims pursue the same basic aim: limiting stray brightness seen from off-axis viewing positions. Cooper Lighting Solutions explains the visual-comfort role of regressed downlights.
Use a dimmer from the beginning
A dimmer is essential for a bedroom recessed-light layer. Full output may be useful for cleaning, but it is rarely needed for ordinary evening use. Check that the selected fixtures and dimmer are specifically compatible; LED dimming problems can include flicker, poor low-end control, or lights that do not turn fully off. For more on that issue, see our guide to recessed LED lights that dim low.
Avoid relying on adjustable fixtures to solve a bad plan
Adjustable or gimbal downlights can direct light toward a closet, artwork, or a wall, but they can also make glare worse if aimed toward reflective surfaces or a seated person’s eyes. Use them only where aiming serves a clear purpose. A standard fixed downlight is often calmer in a simple bedroom layout.
Select light quality before increasing fixture count
A bright, cool overhead installation can make even a well-spaced layout feel clinical. Bedrooms generally benefit from warm white light and low dimming levels in the evening. The exact color temperature is a personal and whole-home decision, but avoid treating a bedroom as a high-output work zone.
Choose output based on the planned number of fixtures, ceiling height, finishes, daylight, and the presence of other lighting. A room with pale walls, a large window, bedside lamps, and four downlights does not need the same overhead output as a dark room with no other sources.
Also consider the beam distribution. Very wide beams can blend light softly but may put more light into unwanted areas. Narrower beams can create pools of light and dark gaps. The fixture’s photometric information, when available, is more useful than a generic rule based only on fixture diameter.
Put bedroom downlights on a separate control
At minimum, use a dedicated dimmer for the recessed lights. Do not combine them with bedside lamps if you want the bedroom to remain comfortable at night.
A simple control plan might be:
- Recessed downlights on a dimmer: cleaning, dressing, packing, daytime overcast conditions.
- Bedside lights on separate switches: reading and low-level evening use.
- Optional low-level night light: nighttime trips without turning on the ceiling layer.
If a ceiling fan is present, keep its controls and recessed-light layout coordinated. Do not place downlights so close to the fan that blades create distracting moving shadows. Our guide to recessed light placement around a ceiling fan explains that coordination in more detail.
Common layout mistakes
Installing a dense central grid
A grid can look orderly on a ceiling plan but often creates more bright apertures than a bedroom needs. It is usually better suited to work-focused rooms requiring consistent, broad illumination.
Putting lights over the head of the bed
This is the most direct route to discomfort from bed. Shift fixtures toward open floor areas, circulation paths, the foot of the bed, or functional perimeter zones.
Treating downlights as reading lights
Overhead light can illuminate a book, but it is not as controllable or personal as a properly positioned bedside light. It may also disturb a partner who wants to sleep.
Choosing fixtures before confirming the layout
Fixture size, beam angle, trim depth, and output affect placement. Select the fixture type early enough to work from its actual specifications rather than making ceiling cuts based on a generic spacing formula.
Forgetting ceiling structure and electrical planning
Joists, insulation, existing wiring, HVAC components, and access above the ceiling can all constrain placement. Before cutting, confirm that the proposed positions are feasible. Use fixtures appropriate for the ceiling construction and insulation conditions, and have a qualified electrician verify current local electrical and installation requirements.
A practical final check before installation
Mark the proposed fixture locations on the ceiling with removable tape. Then lie in the bed and look at the marks from normal positions: sitting up, reclining, and lying down. Stand at the closet, dresser, and doorway as well.
Ask four questions:
- Is any downlight directly above or prominently in front of the pillows?
- Does every proposed fixture have a useful job, such as lighting open floor, storage, or circulation?
- Could the room still feel pleasant with the recessed layer off and bedside lighting on?
- Are the downlights on a separate compatible dimmer?
If the answer to the third question is no, add or improve the lower-level lighting before adding more ceiling fixtures. The strongest bedroom recessed lighting layout is usually the one that disappears into the background: available when you need full-room light, but not the source you depend on when it is time to rest.
References
- Recessed Lighting Spacing Guide | PROLIGHTING. (n.d.). https://www.prolighting.com/blog/2026/07/28/recessed-lighting-spacing-guide
- Recessed Lighting Layout: How to Place Lights Perfectly | Govee US. (n.d.). https://us.govee.com/blogs/ceiling-light/recessed-lighting-layout
- Recessed Lighting for the Modern Homeowner. (n.d.). https://www.visualcomfort.com/inspiration/recessed-lighting-the-modern-way-to-brighten-your-home
- Designing With Recessed Lighting - by W Design Collective. (n.d.). https://wdesign.substack.com/p/designing-with-recessed-lighting
- Anti-glare Downlights - Canless Recessed Lights. (n.d.). https://www.maxximastyle.com/recessed-lighting/led-anti-glare-downlights
- Spacing for recessed lighting in bedroom. (n.d.). https://diy.stackexchange.com/questions/14269/spacing-for-recessed-lighting-in-bedroom
- How to Lay Out Recessed Lighting - The Home Depot. (n.d.). https://www.homedepot.com/c/ah/recessed-lighting-layout/9ba683603be9fa5395fab90c18f7401
- Enhancing Visual Comfort with Regressed Lighting | Cooper Lighting Solutions. (n.d.). https://www.cooperlighting.com/global/resources/the-lighting-resource/enhancing-visual-comfort-regressed-lighting