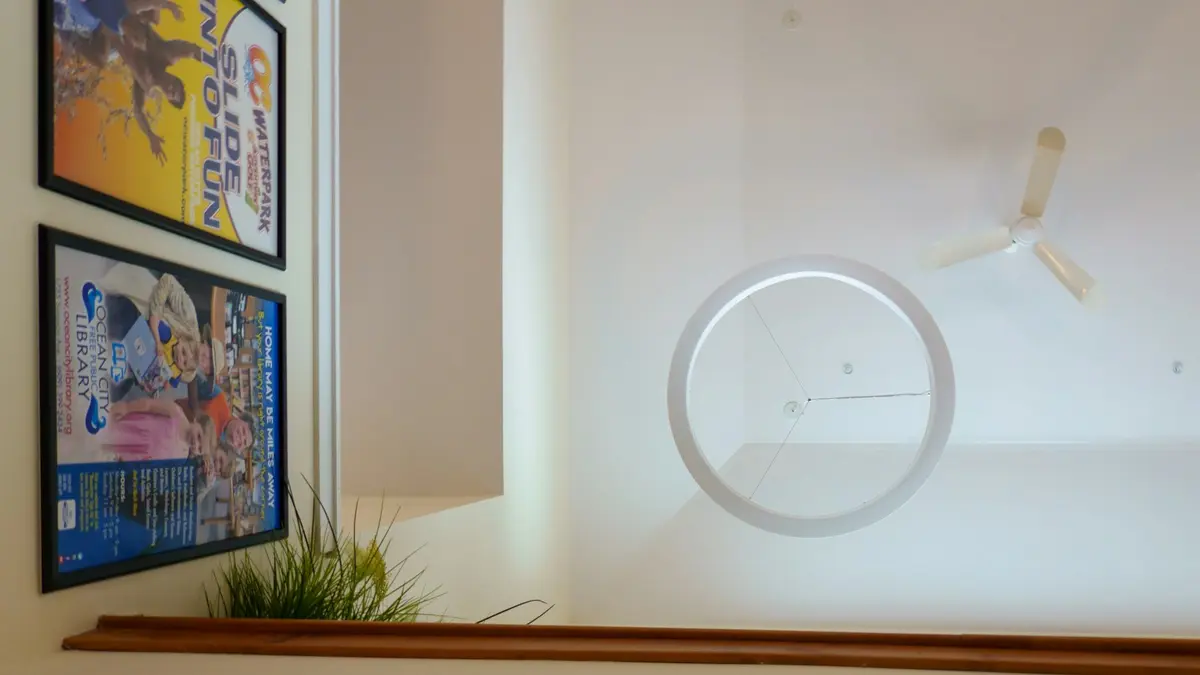
Place recessed lights outside the ceiling fan’s blade sweep, with a meaningful buffer beyond the blade tips. Do not force a centered downlight grid through that protected area. A light that shines through spinning blades can create rapidly moving shadows—often called a strobe effect—and it can be distracting even when the rest of the room is well lit.
For recessed light placement around a ceiling fan, begin with the fan’s actual diameter, not the room centerline. Mark the blade-tip circle on a ceiling plan, add a clearance band around it, and then place lights where they serve the room: seating, circulation, reading areas, walls, and other tasks. This usually produces a better result than putting four downlights close around the fan.
Start with the fan blade sweep
Measure from one blade tip to the opposite blade tip, or use the fan’s stated blade span. On a ceiling plan, draw a circle representing that full diameter with the fan at its center. This is the blade sweep.
Next, draw a second circle outside it as a recessed-light exclusion zone. The exact allowance depends on ceiling height, fan drop, light output, beam spread, and how sensitive occupants are to moving shadows. As a practical starting point, many layout guides suggest keeping recessed fixtures at least 24 inches from the blade tips; other guidance recommends roughly 1.5 to 3 feet where the ceiling plan allows. The larger distance is generally more forgiving, especially with a low-hanging fan or bright, narrow-beam downlights.
The relevant measurement is from the outermost blade tip to the center of the recessed light, not from the fan’s motor housing. A fixture can look comfortably distant from the fan body while still sitting close enough to the blade path to cast noticeable moving shadows.
Why a little extra distance matters
A downlight near the rotating blades sends a directional cone of light past them. Each blade repeatedly interrupts part of that cone, making shadows pulse across the ceiling, walls, floor, or furnishings. The closer the fixture is to the blade path, the more likely the effect is to be pronounced.
Fan height matters too. A fan mounted close to the ceiling may interfere with a smaller portion of a downlight’s beam than a fan on a long downrod. But a lower fan can throw its moving shadows farther into the room. Rather than assuming a close-mount fan makes tight placement safe, preserve the clearance zone and test the plan where possible.
Plan the room’s light zones before drawing a grid
A recessed-light grid is a visual tool, not a requirement. When a ceiling fan occupies the middle of the ceiling, a rigid grid is often the wrong starting point.
Identify what each part of the room needs to illuminate:
- Seating areas: General light should reach the sofa or bed without putting every downlight directly overhead.
- Reading or desk areas: These may need their own lamp, adjustable downlight, or dedicated task lighting.
- Room edges and walls: Wall-directed light can make a room feel brighter and more spacious without crowding the fan.
- Walkways: Use broad, even coverage rather than a bright spot at the room center.
- TV or projector areas: Keep direct overhead light off the screen zone where possible, and place that circuit on a separate dimmer.
This approach often reveals that the center of the room does not need a recessed fixture at all. The fan already occupies the visual center; the surrounding downlights can do the work from outside the blade-shadow zone.
Use one of these layouts instead of a tight ring around the fan
Put lights in rows on each side of the fan
In a rectangular living room, two parallel rows often work well. Keep both rows outside the fan clearance circle, then align the fixtures with seating and circulation zones rather than with the fan itself.
This can create a balanced appearance without placing a recessed light at each compass point around the fan. If the fan is centered but the furniture is not, it is fine for the rows to respond to the furniture rather than remain perfectly symmetrical around the fan.
Omit the center fixture and light the perimeter
A small bedroom may not have enough ceiling area for a ring of recessed lights outside the fan’s blade sweep. In that case, omit the central downlight and use a modest perimeter layout instead.
For example, lights can sit nearer the corners or along the longer walls, while bedside lamps handle reading. This avoids both blade shadows and an over-lit ceiling.
Regroup lights around the seating zone
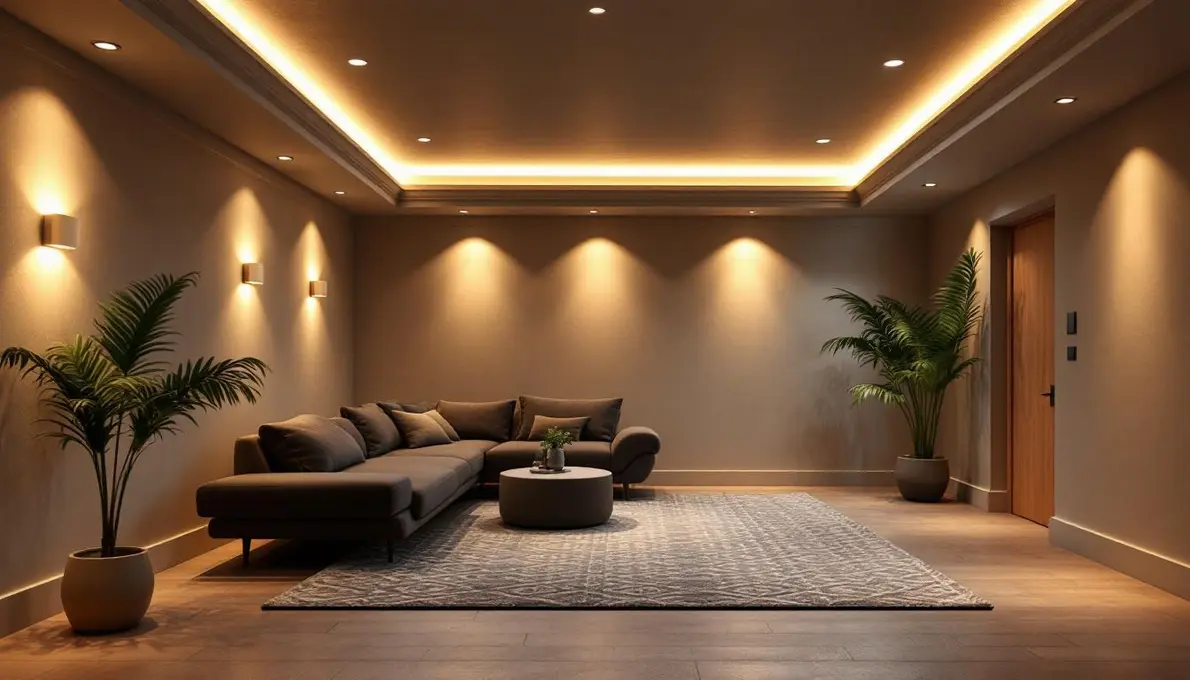
In a living room, place downlights to support the sofa, chairs, coffee-table area, and paths into the room. A pair of lights serving one end of a sectional may be more useful than two fixtures installed merely to complete a symmetric pattern around the fan.
If the fan hangs over the seating area, consider whether recessed lighting is the right source directly below it. Floor lamps, table lamps, or wall lighting can add comfortable local light without creating a moving-shadow problem.
Use wall lighting to reduce dependence on central downlights
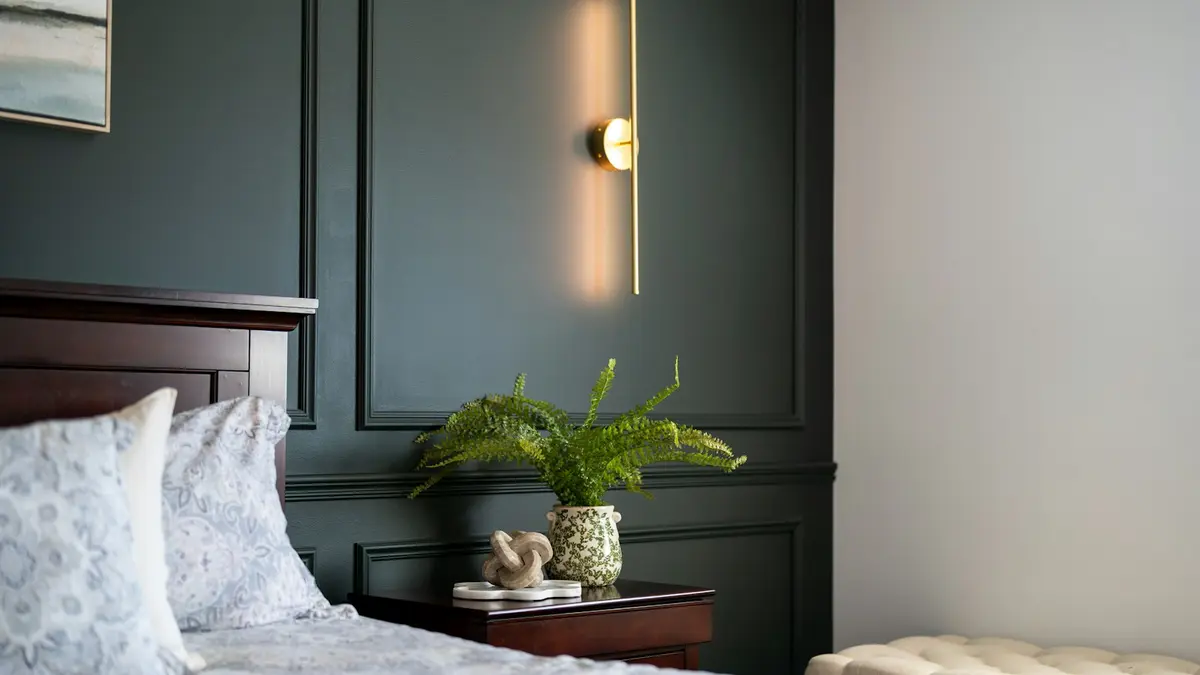
Wall wash, sconces, and other indirect or wall-focused light can reduce the pressure to put recessed lights close to the fan. Illuminating vertical surfaces helps a room feel brighter at lower overall ceiling-light levels.
This is particularly useful in bedrooms, where a fan commonly occupies the center and the room benefits more from bedside and perimeter light than from intense general light directly above the bed. For more planning ideas, see our guide to bedroom corner lighting.
Apply spacing rules only after protecting the fan zone
General recessed-light spacing rules can help establish coverage, but they should not override the fan clearance. A frequently used rough starting point is to space recessed lights at about half the ceiling height—for example, roughly 4 feet apart on an 8-foot ceiling. Actual spacing depends on the fixture’s beam distribution, lumen output, ceiling height, wall color, and the room’s intended use.
Treat that calculation as a starting rhythm, not a command. If the ideal grid point lands inside the fan exclusion zone, move it outward, delete it, or redistribute nearby fixtures. Do not place it near the blade tips just to maintain equal spacing.
Likewise, avoid moving a fixture too close to a wall simply because it cannot sit near the fan. Very close wall placement can create bright scallops or harsh contrast. Balance the fan clearance with the fixture’s beam and the effect you want on the wall.
Check the layout at full fan speed before finalizing
If the ceiling is open or you are planning a remodel, mock up the proposed locations before cutting holes. Painter’s tape on the ceiling can show the visual pattern. More importantly, temporarily energizing a sample light near a proposed position can reveal whether the fan creates distracting shadows at normal and high speeds.
Check from the places where people will sit or lie down, not only while standing beneath the fixture. Look toward walls, across the floor, and toward a television. A slight adjustment that is invisible on a paper plan can make a substantial difference in use.
If fixtures are already installed and strobing occurs, the practical fixes are usually to remove or relocate the closest downlight, reduce its output, change its beam direction if it is adjustable, or use other light sources for that part of the room. Adding more recessed lights rarely solves the underlying blade-shadow path.
Choose fixtures and controls that make the layout easier to live with
A wide, diffuse downlight generally creates softer transitions than a tight spot beam, though it does not eliminate shadows caused by a fixture placed too near the fan. Adjustable fixtures can help aim light toward a wall or task area, but avoid aiming a strong beam directly through the rotating blades.
Put recessed lights on a dimmer, ideally separate from the fan control. This lets you use lower ambient light when the fan is running and rely on table, floor, or bedside lighting for comfort. In a TV room, separating the fixtures nearest the screen can also help reduce glare; see separate dimmers for recessed lights near a TV.
Common recessed-light layout mistakes around ceiling fans
- Measuring from the fan housing instead of from the blade tips.
- Installing a perfect four-light ring that sits close to the moving blades.
- Treating the center of the ceiling as the room’s only important lighting location.
- Preserving a mathematical grid after the fan has disrupted it.
- Moving fixtures outward from the fan but too close to walls without considering wall scallops.
- Assuming the fan’s built-in light will replace all ambient or task lighting.
- Leaving the fan and all recessed lights on one control, making it difficult to adjust the room for comfort.
When to bring in an electrician or lighting professional
Consult a qualified electrician before altering existing recessed-light locations, adding circuits, or working where ceiling framing, insulation, or wiring may limit the layout. A professional can also confirm whether the chosen recessed housings and installation method suit the ceiling construction and applicable local requirements.
The essential design decision is simpler: let the ceiling fan determine a protected central zone, then use recessed lights to illuminate the room around it. A slightly irregular layout that avoids blade shadows and serves the furniture will usually feel far better than a flawless-looking grid that flickers whenever the fan runs.
References
- Recessed Lighting Layout Guide: How to Space Your Lights. (n.d.). https://www.beeslighting.com/blogs/ideas-advice-blog/how-to-design-the-best-recessed-lighting-layout
- How far should recessed lights be from a ceiling fan?. (n.d.). https://www.todaysfans.com/blogs/blog/how-far-should-recessed-lights-be-from-a-ceiling-fan
- Fan-tastic Layouts for Recessed Lighting - LampHQ. (n.d.). https://lamphq.com/recessed-lights-with-ceiling-fan
- The Ceiling Fan Strobe Light Effect. (n.d.). https://designingyourperfecthouse.com/home-design/whole-house-design/ceiling-fan-strobe-light-effect
- Will I get a strobing effect if I put 4 downlights around .... (n.d.). https://www.quora.com/Will-I-get-a-strobing-effect-if-I-put-4-downlights-around-a-ceiling-fan-each-only-20cm-away-from-the-tip-of-the-blade
- Recessed Specs for Success — 1000Bulbs Blog. (n.d.). https://blog.1000bulbs.com/home/recessed-specs-for-success
- Recessed Lighting Layout Guide: Tips for Perfect Spacing and Placement - Cans & Fans. (n.d.). https://www.cansandfans.com/blog/recessed-lighting-layout-guide-tips-for-perfect-spacing-and-placement
- How to Layout Recessed Lighting. (n.d.). https://www.youtube.com/watch?v=PEBOS0RpYfU