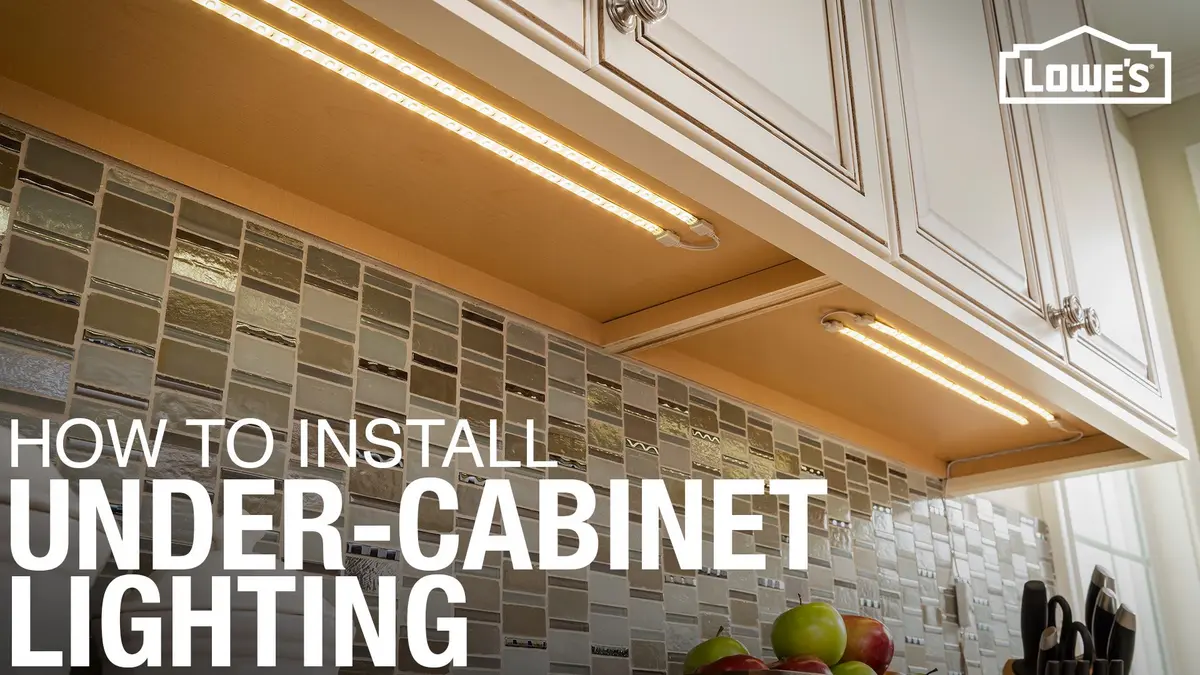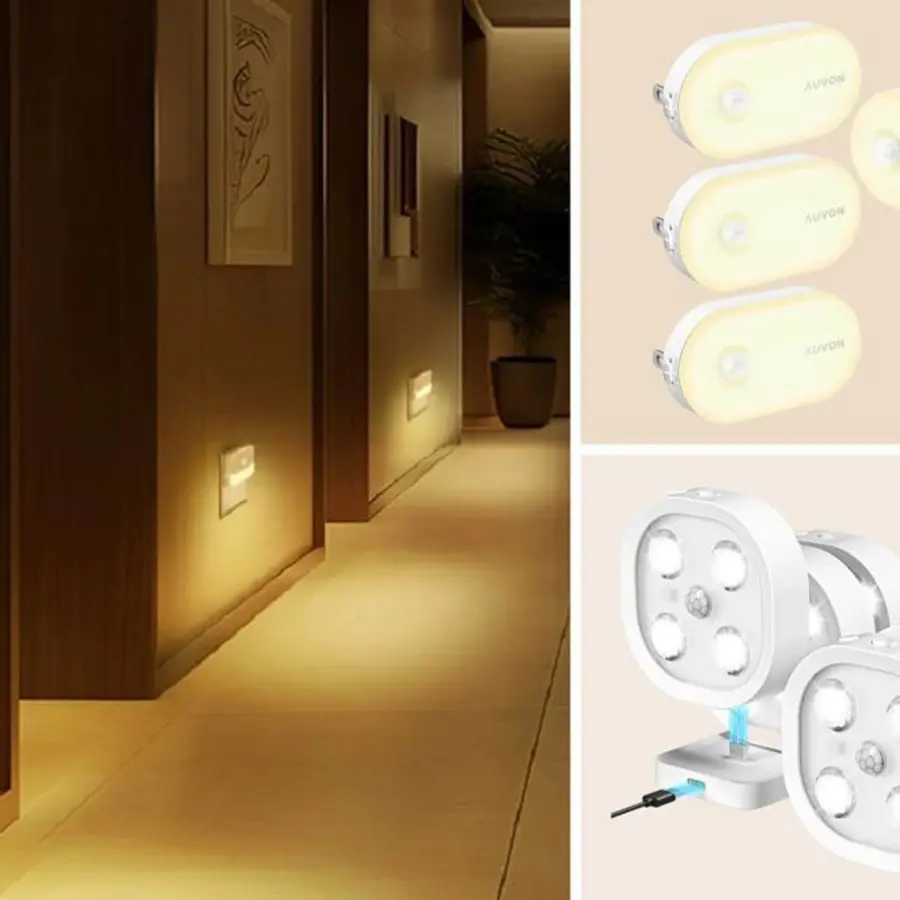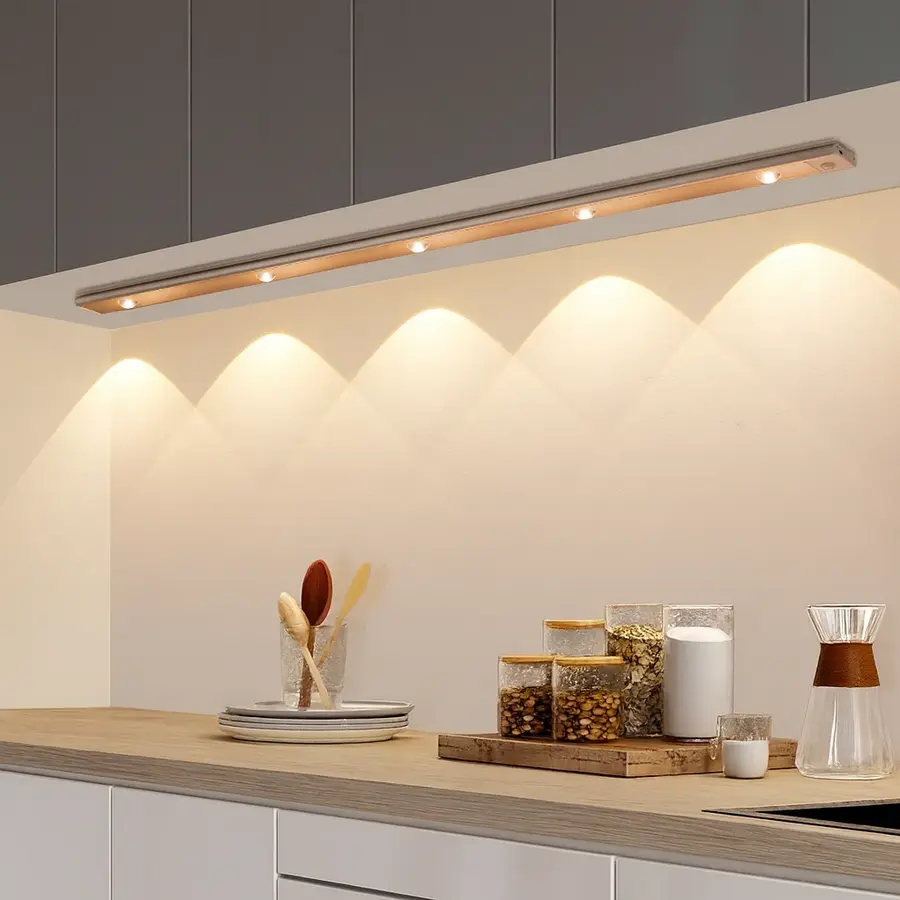
To make under cabinet lighting motion sensor only at night work reliably, you need two separate decisions in the control logic: motion must be detected, and the room must be dark enough. The simplest way to get both is a plug-in or hardwired under-cabinet fixture with an integrated motion sensor and photocell, sometimes labeled a daylight sensor, dusk sensor, or light sensor.
For most kitchens, avoid building a smart-home automation unless you already use a compatible hub or platform. An integrated night-only motion fixture or a matched motion-sensor controller is usually the minimum viable setup. It can turn the lights on when you enter a dark kitchen, keep them on while movement continues, and switch them off after a preset delay.
Understand the two conditions: motion and darkness
A motion sensor alone does not know whether your kitchen needs light. Without a light-level condition, it may activate the under-cabinet lights during a sunny morning or whenever the main kitchen lights are already on.
A night-only setup uses this basic rule:
> If motion is detected and ambient light is below a set threshold, turn the under-cabinet lights on. After no motion is detected for a set time, turn them off.
The ambient-light part is usually handled by a photocell. A photocell measures surrounding brightness and blocks activation in bright conditions. That is why products described as 鈥渘ight motion鈥?lights often do nothing during the day even when motion detection is working correctly.
For example, Lightkiwi鈥檚 motion sensor controller is designed to avoid triggering in bright conditions, and its documentation notes that the light sensor is built into the controller. A Maxxima plug-in under-cabinet fixture similarly describes a photocell that limits motion activation to dark settings.
The exact brightness threshold is not always adjustable. In a kitchen with daylight from windows, this can be helpful in summer but may mean the lights do not activate until the room is noticeably dim. Treat 鈥渄ark鈥?or 鈥渘ight-only鈥?as a product behavior to verify, not as a standardized setting.
Choose the simplest setup that fits your lighting
Option 1: An integrated motion-and-daylight sensor fixture
This is the easiest approach when you are starting from scratch. The sensor, photocell, timer, and LED fixture are part of one unit. Plug-in versions simply connect to a standard receptacle; rechargeable versions mount without a cord but require periodic charging.
Choose this route when:
- You need light in one small counter area.
- You want night-only activation without an app, hub, or routines.
- A visible power cord is acceptable, or you are using rechargeable lights.
- You are comfortable with the fixture鈥檚 fixed detection range and timeout.
The limitation is coverage. One small fixture may not sense movement at the kitchen entrance, especially if the cabinet run is long or the sensor faces across the counter rather than toward the approach path.
Option 2: A matched plug-in light system with a separate sensor controller
Some modular under-cabinet systems place the sensor in a small control box between the power supply and the light bars. This can be a better fit for a longer cabinet run because one sensor can control several matching fixtures.
The important word is matched. These controllers may use proprietary low-voltage connectors and are not necessarily compatible with another manufacturer鈥檚 light bars, standard plug-in fixtures, or hardwired under-cabinet lights. Confirm that the sensor controller, power supply, dimmer, and fixtures are designed to work together before buying parts separately.
This approach is useful if you want to locate the sensor where it sees people entering the kitchen but keep the light bars spread evenly across the counter.
Option 3: A smart motion sensor, smart plug, and automation
A smart plug motion sensor under cabinet lights setup can work, but it is not always simpler. The smart plug supplies or removes power from the lights. A separate motion sensor provides occupancy information, while a platform or hub applies the darkness condition.
The automation should read roughly like this:
- When the motion sensor detects motion,
- and the kitchen is below the chosen brightness level or it is after sunset,
- turn on the smart plug,
- then turn it off after a short period with no detected motion.
This arrangement makes sense when you already have compatible devices and want more control over schedules, brightness, or different evening behavior. For example, you might allow a brighter task-light level before bedtime and a dimmer overnight level.
However, it introduces a critical compatibility question: what does the under-cabinet fixture do when power returns?
Many lights with electronic buttons do not automatically resume their prior on state after a smart plug cuts power. Others restart in off mode, reset to a default brightness, or require pressing a button. A smart plug cannot solve that problem. Before using one, test the fixture: turn it on, unplug it briefly, reconnect it, and see whether it turns back on without touching its controls.
If the fixture does not restore its on state, use a fixture designed for switched power, a compatible low-voltage controller, or an integrated sensor solution instead.
Set up a dependable night-only motion routine
1. Decide what the lights are for
Night-only under-cabinet lighting is usually wayfinding or low-level counter lighting, not the primary task lighting for food preparation. That affects how bright the lights should be and where the sensor should look.
If you want the lights for late-night water, coffee, or safe movement through the kitchen, use a comfortable low setting if dimming is available. If you also want prep lighting, retain a manual on mode or separate switch so the lights can stay on when needed.
2. Put the sensor where it sees the approach path
Mounting a sensor deep under a cabinet can block its view with cabinet trim, a valance, or the counter edge. Position it near the front underside of the cabinet, but not where a hand, towel, or nearby appliance will continually trigger it.
Aim the detection area toward where you enter or stand at the counter. Avoid aiming directly at a hallway, a frequently opened door, or a pet route if unwanted activation would be bothersome.
Sensor type affects placement. Passive infrared (PIR) sensors detect changes in heat patterns and commonly work best when someone moves across their field of view rather than directly toward them. Wave or proximity sensors may intentionally respond only at very short range, which is useful for hands-free switching but not for automatic room entry lighting.
3. Test the daylight sensor in real kitchen conditions
Test it at several times: in daylight, at dusk, with the ceiling lights on, and with the kitchen otherwise dark. A photocell can be affected by light reflected from a glossy backsplash, nearby pendants, or the under-cabinet lights themselves.
If the lights cycle on and off unexpectedly, the sensor may be seeing the light it controls. Reposition the sensor, shade it from direct fixture light, or reduce the light level if the system allows. Do not cover a photocell unless the manufacturer specifically says that is an intended option; covering it defeats the night-only behavior.
4. Choose a practical timeout
A short timeout saves energy but can be irritating if the lights switch off while you are standing still at the counter. A longer timeout feels smoother but keeps the lights on after you leave.
For a pass-through or late-night navigation light, a brief delay is usually appropriate. For a counter where someone may pause to make a drink or read a label, use a longer delay where the controller permits it. Some integrated products have a fixed timer, so check this before installation rather than assuming it can be adjusted.
5. Keep a manual override where possible
Motion activation is convenient, but kitchens occasionally need continuous light. Look for a manual on mode, dimmer, or separate normal switch function. A sensor-only controller that always requires motion can be frustrating during cooking, cleaning, or entertaining.
If your cabinet lighting is part of a larger planned installation, see our guide to under-cabinet lighting installation before choosing the power and control layout.
Common problems and what they usually mean
The lights turn on during the day
The fixture may be in an all-day motion mode rather than night-motion mode. Check its physical switch or app settings. If it has a photocell, it may be installed in a shadowed location that remains dark even when the rest of the kitchen is bright.
The lights do not turn on after dark
First confirm that the fixture has power and is set to automatic mode. Then check whether the sensor is blocked, facing the wrong direction, or positioned too far from the walking path. Rechargeable fixtures may also be low on battery.
The smart plug turns on, but the lights stay off
The fixture probably does not remember its previous power state after an outage. This is a fixture compatibility issue, not a failed automation. Use a light that returns to on when power is restored, or use a controller designed for the lighting system.
The lights turn off while someone is still at the counter
The timeout may be too short, or the sensor may not detect small movements. Move the sensor to improve its view of the working area, use a longer delay if available, or choose a manual-on mode for extended tasks.
The lights trigger when no one is using the kitchen
Look for motion beyond the kitchen, pets, HVAC airflow moving a hanging object, or reflections that affect the sensor. Narrow the sensor鈥檚 view by relocating it rather than covering the detector itself.
When to use a qualified electrician
A plug-in fixture or rechargeable light is generally the least invasive path. If you want concealed wiring, a new receptacle inside a cabinet, a wall control, or a hardwired low-voltage driver, use a qualified electrician and verify current local electrical requirements. Hardwired under-cabinet lighting should be planned around accessible connections, suitable equipment, and the requirements that apply in your area.
The most reliable under cabinet lighting after dark automation is usually not the most elaborate one: a compatible light system, a sensor that can see the approach path, a photocell that is not exposed to the fixture鈥檚 own light, and a timeout that matches how you use the kitchen.
References
- Motion Sensor for Under Cabinet Lighting 鈥?Plug & Play, Auto On/Off | Lightkiwi. (n.d.). https://www.lightkiwi.com/products/motion-sensor-under-cabinet-lighting
- 10 Best Under Cabinet Motion Sensor Lights (2026 Reviews) - LightsPR. (n.d.). https://www.lightspr.com/indoor-lighting/under-cabinet-lighting-motion-sensor
- 12 in. LED Under Cabinet Motion Sensor Light, Plug-in, 3000K. (n.d.). https://www.maxximastyle.com/12-in-led-under-cabinet-motion-sensor-light-plug-in-375-lumens-3000k-warm-white-msl-12550w
- 5 Best Rechargeable Motion Sensor Under Cabinet Lighting. (n.d.). https://hometosight.com/best-rechargeable-motion-sensor-under-cabinet-lighting
- Motion Sensor Under Cabinet Lighting | BLACK+DECKER PureOptics LED. (n.d.). https://pureopticsled.com/products/motion-sensor-under-cabinet-lighting.html
- Best Under Cabinet Motion Sensor Lights? 6-Pack Rechargeable LED Review & Demo!. (n.d.). https://www.youtube.com/watch?v=8RZNkINPG5g&vl=en-US
- motion sensor under cabinet lighting 鈥?AIBOO. (n.d.). https://aiboo.net/collections/motion-sensor-under-cabinet-lighting
- Motion Sensor Under Cabinet Lighting- Online Shopping for Motion Sensor Under Cabinet Lighting - Retail Motion Sensor Under Cabinet Lighting from LightInTheBox. (n.d.). https://www.lightinthebox.com/popular/motion-sensor-under-cabinet-lighting.html