Recessed lights create shadow waves on ceiling surfaces when their individual beams are visible instead of blending into one even field of light. The usual causes are a narrow beam angle, deeply recessed or glare-control trims, lights placed too far from walls or upper cabinets, inconsistent fixture spacing, or a ceiling and cabinet finish that makes every change in brightness obvious.
Dimming can make the pattern less distracting, and added under-cabinet or wall lighting can reduce the contrast. But if the waves come from where the recessed lights are located, a different lamp or trim will only partly improve them. Relocating fixtures, adding a properly placed row, or changing the lighting plan may be the realistic fix.
What the “waves” usually are
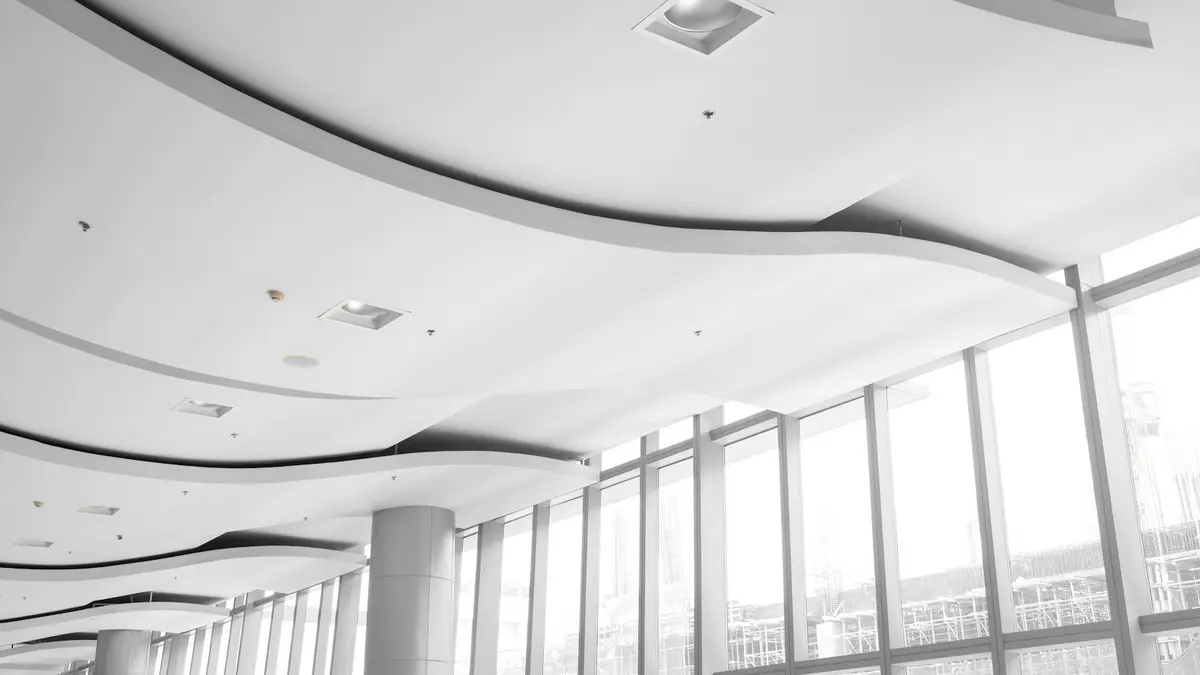
The pattern is often called scalloping: repeated bright and dark arcs on a wall, ceiling edge, or cabinet face. Each recessed downlight produces a cone or field of light. Where one beam fades before the next beam adequately overlaps, the surface shows a darker band. When several fixtures repeat the same condition, those bands read as waves.
A ceiling can also look striped even when the room floor is bright. Recessed lighting is directional. It sends most of its light downward, so it does not automatically brighten the upper wall, ceiling perimeter, cabinet tops, or vertical cabinet fronts.
In kitchens, the effect commonly appears above wall cabinets or in the strip of ceiling between cabinets and the room. In living rooms, it may be most noticeable around the perimeter, above a fireplace wall, or on a broad matte ceiling viewed from a seated position.
The most likely causes
The lights are too far from the wall or cabinet line
A recessed light that is intended to brighten a nearby wall or cabinet must be close enough for its beam to reach that vertical area with useful intensity. When it sits farther into the room, much of the beam lands on the floor or countertop instead. The beam’s outer edge may skim the ceiling near the cabinets, creating a dark-to-light arc rather than a soft wash.
This can be especially apparent with upper kitchen cabinets. The cabinets interrupt light that might otherwise reach the wall and ceiling junction. A row of lights positioned beyond the cabinet edge can leave the cabinet faces and ceiling perimeter comparatively dark.
The right offset depends on ceiling height, beam distribution, trim depth, cabinet height, and the intended job of the fixture. There is no single distance that works in every room. A lighting plan should be based on where light needs to land, rather than placing all fixtures in a centered grid.
The beam angle is too narrow for the spacing
A narrow-beam downlight produces a more defined pool of light. That can be useful for highlighting art, a fireplace surround, or a focused work area. It is less forgiving for general ceiling lighting when fixtures are spaced apart.
If each beam ends before the next one begins, the gaps become dark bands. A wider beam can create more overlap and make the ceiling appear calmer. However, beam angle alone is not a cure for a poor layout: a wider beam may soften the scallops while still leaving the cabinet zone underlit.
Be careful not to assume that two fixtures with the same stated beam angle will look identical. Optical design, lens texture, trim depth, and the LED’s position inside the housing all affect the actual field of light.
Deeply recessed trims emphasize the beam edge
Many modern recessed fixtures use a regressed light source, meaning the luminous element sits higher inside the ceiling opening. This can reduce direct glare, which is often desirable in living spaces and low ceilings.
The tradeoff is that the fixture may produce a more controlled, more directional distribution. On a ceiling or wall close to the fixture, the transition from bright to dim can appear sharper. A shallow fixture, a more open trim, or a different optic may spread light more broadly, but it can also increase visible brightness when looking upward.
This is a balance between glare control and a smooth ambient effect. Low glare does not always mean broad, uniform coverage.
Fixture spacing is uneven or does not match the room geometry
Even good fixtures can create irregular waves when the spacing changes from one light to the next. A small inconsistency may become very visible along a straight cabinet run, a long wall, or a ceiling soffit.
The issue can also occur when a regular grid ignores the room’s actual features. For example, a centered ceiling grid may look orderly on paper but place one row too far from cabinets and another row too close to a wall. The result is a bright center, a dim perimeter, and repeated shadows at the edges.
Check whether the dark arcs align with individual lights. If they do, compare the center-to-center distances and the distance from each fixture to the cabinet face or nearest wall. A tape measure and a simple sketch are usually enough to reveal an obvious layout inconsistency.
Cabinet geometry blocks the light
Upper cabinets, tall pantry units, range hoods, and deep crown molding can block or redirect light from ceiling fixtures. The result may be a shadow line above the cabinets, especially where cabinet heights change or a tall unit meets a lower run.
Glossy cabinet finishes can make the issue more noticeable because they reflect points of brightness and darker gaps. Textured ceilings and matte paints can also reveal scalloping because their surface texture catches grazing light.
Dark or low-reflectance finishes increase contrast
A light-colored ceiling helps diffuse reflected light around the room. A darker ceiling, dark cabinet color, heavily textured paint, or low-sheen finish absorbs more light and can make the bright-and-dark cycle from recessed fixtures look stronger.
Changing paint is rarely the first solution, but it affects how much a revised lighting layout needs to do. A room with dark walls and cabinets usually benefits from more deliberate vertical and task lighting, not simply more overhead downlights.
How to identify the cause before changing anything
Try these observations at night, with daylight excluded as much as practical:
- Turn on only the recessed lights. This shows whether the waves are caused by the downlights or by another layer, such as pendants or under-cabinet strips.
- Dim the recessed lights slowly. If the pattern remains but becomes less bothersome, the issue is primarily contrast. If it stays sharply defined at every level, beam shape and placement are likely bigger factors.
- Stand beneath one fixture and look at the nearby ceiling edge. A defined bright circle ending before the wall or cabinet line suggests insufficient beam spread or excessive offset.
- Compare the pattern at each fixture. Uneven arcs can indicate inconsistent spacing, different trims, different lamp positions, or a fixture that is not seated evenly.
- Look for physical obstructions. Cabinet crown, hood enclosures, beams, and soffits can create shadows that a new bulb cannot remove.
If one fixture looks significantly different from the others, first confirm that it has the same trim, lamp, color setting, and dimming behavior as the rest. Integrated LED fixtures may also have different optics even when their openings appear similar.
Fixes that may improve the pattern without moving fixtures
Use dimming as a comfort adjustment
Lowering output reduces the contrast between bright pools and dark gaps. This is often enough when the room otherwise has adequate light from pendants, lamps, or under-cabinet lighting.
Dimming does not change beam geometry. If the ceiling remains visibly banded at a comfortable room brightness, treat dimming as a partial improvement rather than a full fix. If dimming causes flicker, popping, limited range, or uneven behavior between fixtures, see our guide to recessed LED lights that dim low.
Add light where the shadows occur
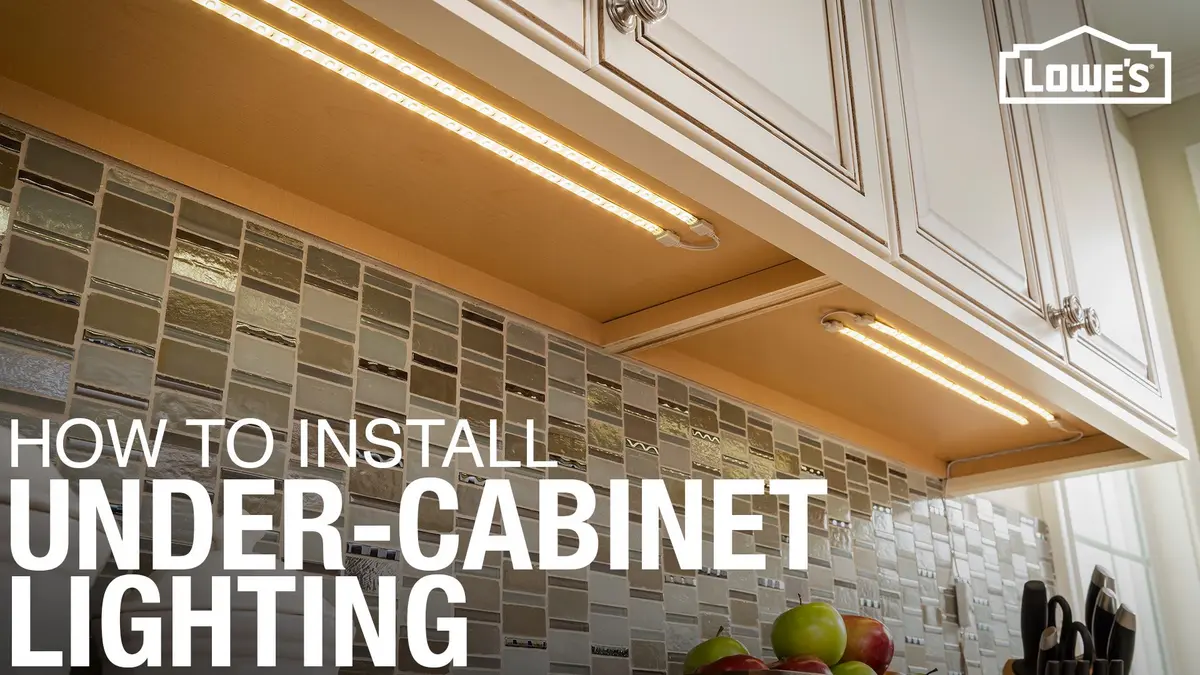
In a kitchen, under-cabinet lighting is often the most effective complementary layer. It lights the countertop from the front edge of the upper cabinets, reducing the heavy shadows cast by ceiling-only lighting. It will not erase a ceiling scallop, but it can make the room feel balanced and improve visibility for food preparation.
For cabinet installation considerations, read under-cabinet lighting installation. Electrical connections, concealed wiring, and kitchen requirements should be verified against current local rules, and work inside fixed wiring should be handled by a qualified electrician where appropriate.
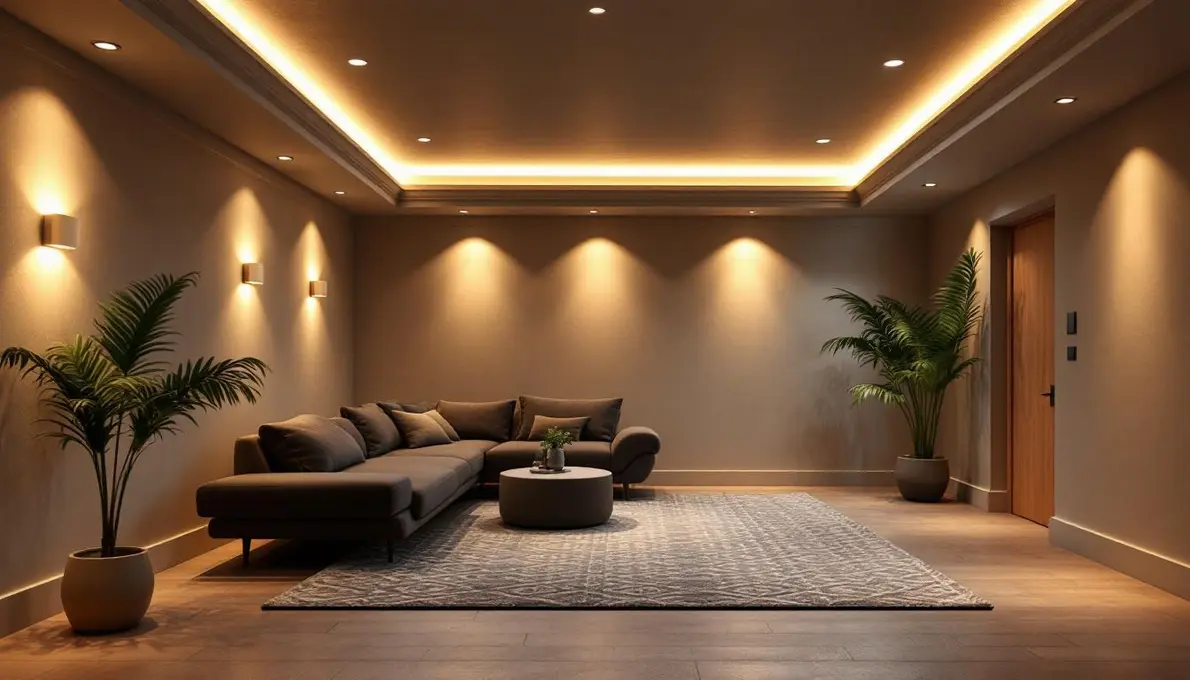
In a living room, floor lamps, table lamps, wall sconces, or a dedicated wall-wash layer can raise the brightness of vertical surfaces. Once walls are brighter, the ceiling’s darker perimeter is usually less visually dominant.
Change lamps or trims only when the fixture allows it
Some recessed housings accept replaceable lamps and compatible trims. In those systems, a wider flood distribution may blend better than a narrow spot distribution. A less recessed trim may also soften the perceived edge of the beam.
Do not install a lamp simply because it fits the opening. Confirm compatibility with the housing, trim, dimmer, insulation arrangement, and manufacturer instructions. For integrated LED fixtures, changing beam spread or trim appearance may require replacing the complete light engine or fixture, not just a bulb.
Make the lighting layers work together
Recessed lights are usually most successful as part of a layered plan rather than as the room’s only source of light. In a kitchen, that may mean recessed ambient light, under-cabinet task light, and a pendant or decorative fixture where appropriate. In a living room, it may mean restrained downlighting combined with lamps and wall light.
This reduces the temptation to run every downlight at maximum output, which is when beam edges and ceiling texture often become most visible.
When fixture relocation or additional fixtures is the real answer
A layout change is often necessary when the recessed lights are simply in the wrong place for the surfaces they are meant to illuminate. Typical examples include:
- A row of downlights is centered in the room but leaves upper cabinets and countertop edges dark.
- The ceiling perimeter has large dark gaps between light pools.
- A narrow-beam fixture is used for broad ambient coverage.
- The fixtures are unevenly spaced along a visible cabinet or wall line.
- The room relies entirely on downlights, with no task or vertical lighting.
Adding fixtures can help only if their positions are planned around the missing light. Adding another random center fixture may increase brightness while creating more circles and more visual clutter. A revised plan should identify whether each fixture is for ambient light, countertop task light, wall washing, or accent lighting.
For a broader planning framework, see how to plan a recessed lighting layout. If the ceiling is already finished, an electrician or lighting designer can help assess routes, structural constraints, existing junctions, and the suitability of the installed equipment before changes are made.
Avoid these common responses
Adding higher-output lamps
More output can brighten the room, but it also makes the difference between beam centers and beam edges more pronounced. If the problem is scalloping, higher output may make the waves more obvious.
Assuming all recessed lights are interchangeable
Similar-looking fixtures can have very different beam distributions, trim depths, glare control, and dimming behavior. Match the optic and trim style across a visible row whenever possible.
Trying to light countertops only from the ceiling
Overhead light is useful, but a person standing at a counter can block it with their own body. Under-cabinet lighting provides a more direct task layer and reduces dependence on recessed lights near the cabinet line.
Treating a ceiling grid as the only layout option
A symmetrical grid is not automatically a good lighting layout. Cabinet runs, seating areas, artwork, circulation paths, and ceiling features often call for rows or groups that serve different functions.
When to stop troubleshooting and call a professional
Do not open recessed housings or alter fixed wiring if you are not qualified to do so. Arrange professional help if fixtures are loose, overheating, buzzing, intermittently shutting off, discoloring the ceiling, or behaving differently from the rest of the circuit.
Also seek advice before moving or adding recessed fixtures where ceiling framing, insulation, air sealing, fire-resistance details, or concealed wiring may be affected. The required fixture type and installation method depend on the building and local rules, so current requirements should be verified with a qualified electrician or local authority.
The practical takeaway
Recessed light scalloping on a ceiling is usually a layout-and-optics problem, not evidence that recessed lighting is inherently wrong. Start by identifying whether the dark bands line up with beam edges, cabinet obstructions, or uneven spacing. Then decide whether the room needs less contrast, a wider light distribution, better task lighting, or a genuine fixture-layout correction.
If the lights are already well placed and the effect is mild, dimming and supplementary lighting may be enough. If the recessed lights are too far from cabinets or walls, or their beams do not overlap, the cleanest result generally comes from changing where the light originates rather than trying to overpower the shadows.
References
- Ceiling too dark and wavy after recessed light installation. (n.d.). https://www.reddit.com/r/Lighting/comments/1slug8c/ceiling_too_dark_and_wavy_after_recessed_light
- Recessed Lights Can Ruin Your Lighting Layout, and Here's Why.... (n.d.). https://www.mydesignsherpa.com/blog/recessedlightssuck
- Common Recessed Lighting Mistakes (And How to Avoid Them in Your Home). (n.d.). https://wipliance.com/about-us/blog/item/3-common-recessed-lighting-mistakes-and-how-to-fix-them
- Kitchen Recessed Lighting Guide: Tips and Tricks. (n.d.). https://bradcokitchen.com/blog/kitchen-recessed-lighting-guide-tips-and-tricks
- Can lighting roof moisture problem. (n.d.). https://www.greenbuildingadvisor.com/question/can-lighting-roof-moisture-problem
- Staining around recessed light fixtures - Interior Inspections. (n.d.). https://forum.nachi.org/t/staining-around-recessed-light-fixtures/71815
- Recessed Lighting in Bathrooms: Placement, Wet Rating & Code Tips – Amicolight. (n.d.). https://amicolight.com/blogs/news/recessed-lighting-in-bathrooms-placement-wet-rating-code-tips
- Lighting For Cabinets: Lighting Codes and Regulations .... (n.d.). https://www.paclights.com/explore/lighting-for-cabinets-lighting-codes-and-regulations-how-it-fits-in