For a directional recessed art light, start by placing the fixture so it can aim at the center of the artwork at roughly 30 degrees from vertical. In practical terms, the recessed art light distance from wall is about 0.58 times the vertical distance from the ceiling to the artwork’s center.
If the center of a painting is 4 feet below the ceiling, begin about 2.3 feet, or 28 inches, out from the wall. That is a starting point—not a universal rule. The fixture’s aiming range, the art’s size, frame depth, beam angle, and where people view the piece can all justify a modest adjustment.
Use the 30-degree starting calculation
The commonly used 30-degree art-lighting approach angles the beam toward the artwork rather than sending it straight down. This usually gives the light enough direction to reveal the artwork while reducing the strong frame shadow and flat top-down appearance that occur when a fixture is too close to the wall.
Use this calculation:
Distance from wall = vertical distance to artwork center × 0.58
The vertical distance is measured from the finished ceiling plane to the center of the artwork, not to the floor or to the top of the frame.
Here are a few starting distances:
| Vertical distance from ceiling to art center | Starting fixture distance from wall |
|---|---|
| 3 feet | about 21 inches |
| 4 feet | about 28 inches |
| 5 feet | about 35 inches |
| 6 feet | about 42 inches |
For example, a ceiling that is 8 feet high does not automatically mean the fixture belongs 2 feet from the wall. A painting hung with its center 4 feet above the floor has a center about 4 feet below that ceiling, making 28 inches a sensible first layout mark. If the same painting is mounted higher on a 10-foot ceiling, the needed offset increases.
Confirm that the trim can actually aim far enough
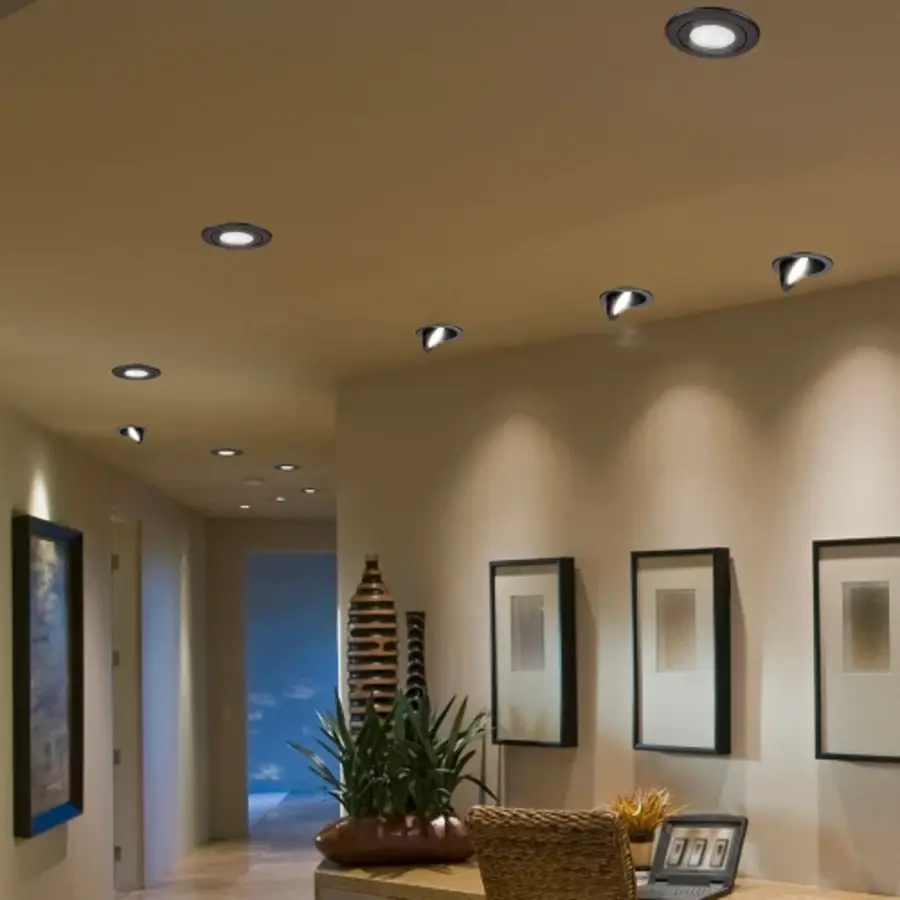
The calculation only works when the recessed fixture can physically tilt to the required angle. A fixed recessed downlight cannot be redirected toward artwork. For this job, use an adjustable recessed trim, such as a gimbal or adjustable spotlight trim, designed to aim away from vertical.
Check the manufacturer’s specification for the trim’s maximum adjustment angle before cutting a ceiling opening. A fixture that adjusts only 20 degrees from vertical cannot produce a 30-degree aim, even if its ceiling location is correct.
Also look beyond the stated tilt angle. Some fixtures lose light output or produce visible glare when aimed near their maximum adjustment. A trim with slightly more adjustment than the calculated requirement gives useful room for final aiming.
Make a full-size mockup before installation
A mockup is more reliable than placing a hole solely from a formula. It lets you see whether the selected fixture position creates reflections, shadows, or an overly bright spot on the artwork.
- Hang the artwork at its intended height. Use the actual frame if possible. Frame depth and glass affect the result.
- Mark the center of the artwork on the wall. Measure vertically from that point to the ceiling.
- Calculate the starting ceiling offset. Multiply the vertical measurement by 0.58.
- Mark that position on the ceiling. Measure outward from the finished wall surface, not from baseboard or trim.
- Test the angle with a flashlight or temporary directional light. Hold it near the marked ceiling position and aim it at the artwork center.
- View the art from normal seating and standing positions. Look for reflections in glass, shadows under the frame, and visible brightness at the fixture aperture.
- Move the mark before cutting if necessary. A few inches can materially change reflections and coverage.
A flashlight will not duplicate the final beam angle, color quality, or brightness of the recessed fixture. It is still useful for judging basic geometry and whether the direction of light is promising.
Choose the beam angle for the artwork, not just the room
Fixture placement determines the direction of the beam. Beam angle determines how much of the artwork the beam covers.
A narrow beam can create a dramatic accent on a small work but may leave the corners dim. A wider beam can cover a larger canvas more evenly, but it may spill onto the surrounding wall and reduce the focused effect. Beam spread also increases as the light-to-art distance grows.
As a rough planning method, begin with the intended aim point at the artwork center, then check whether the beam will reach the artwork’s top, bottom, and sides. If one fixture cannot cover the piece evenly without excessive spill, two fixtures may be more suitable. This is often the case for wide horizontal art, a large canvas, or a grouped arrangement of frames.
For framed art behind reflective glass, avoid assuming that a broader beam solves every coverage issue. A broad beam may illuminate more glass and make reflected highlights more noticeable from a favored viewing position. Slightly changing the fixture location or artwork height can be more effective than simply using a wider beam.
Why a light mounted too close to the wall creates shadows
A recessed fixture placed very close to the wall sends light mostly downward. On artwork, that often produces a bright upper area and reduced illumination toward the lower half. The frame can cast a distinct shadow beneath itself, especially when the art projects noticeably from the wall.
This effect is particularly common when a general recessed downlight is treated as an art light. General downlights are intended to distribute light below them, not necessarily to direct a controlled beam onto a vertical surface.
Putting a fixture closer to the wall can be appropriate for a different purpose: washing a wall with light. Wall-washing layouts commonly place recessed fixtures nearer the wall to create a broader surface effect. That is not the same as aiming a directional recessed spotlight at one painting. For artwork, locate the fixture based on the target’s center and the trim’s aiming capability rather than using a fixed wall-wash distance.
Avoid placing the fixture too far into the room
Moving an art light farther from the wall creates a shallower angle across the artwork. This can emphasize texture, but it can also create problems:
- The beam may strike the frame or wall at a grazing angle rather than cover the art evenly.
- A viewer may see a bright opening or lamp source when looking toward the artwork.
- Reflective glazing may catch more direct reflections from some viewing positions.
- The fixture may need more tilt than the adjustable trim permits.
If the desired position is far from the wall, confirm both the trim’s tilt range and the visual comfort of people seated opposite the art. A deeply recessed, well-shielded adjustable fixture can help limit visible glare, but placement and aiming still matter most.
Account for the artwork and the room
Use the 30-degree calculation as a starting geometry, then adjust for these conditions:
Thick frames and shadow-box art
Deep frames cast larger shadows than flat canvases. Moving the fixture slightly farther from the wall may help light reach below the frame, provided the trim can still aim correctly and glare remains controlled.
Textured paintings
A slightly more angled beam can reveal brushwork and relief. Too much grazing light, however, can make texture look harsh and can exaggerate surface irregularities that are not meant to dominate the viewing experience.
Glass-covered art
Glass, acrylic, and glossy finishes are more likely to reflect a visible highlight. Test the mockup from the usual viewing position. If reflection is distracting, adjust the fixture position a few inches, alter the aim point slightly, or consider a different mounting and lighting approach.
Multiple artworks on one wall
Do not automatically place all fixtures the same distance from the wall if the artwork centers are at different heights. Calculate from each target center. For a gallery wall, it may be more practical to light the arrangement as a whole with a wider and more even approach rather than assign one narrow spotlight to every frame.
A practical specification checklist
Before choosing recessed lights for wall art, verify that the fixture or trim has:
- Adjustable aiming sufficient for the planned angle
- A beam angle suited to the artwork’s dimensions
- Good shielding to limit visible glare
- Dimming compatibility with the intended control
- Color quality appropriate for viewing artwork accurately
- A color temperature that fits the room and the artwork’s appearance
Dimming is especially helpful because artwork usually needs less light than a work surface. It also makes it easier to balance accent lighting with ambient room lighting. If the room already has recessed lighting, consider placing art lights on a separate dimmer so their brightness can be adjusted independently. For broader planning guidance, see our guide to recessed lighting layout.
When to involve a professional
A lighting designer or qualified electrician can be helpful when the ceiling has limited access, the artwork is valuable, several fixtures must align precisely, or the proposed locations may conflict with joists, ducts, insulation, or existing wiring. Verify current local electrical and building requirements before installation, particularly where recessed fixtures interact with insulation or fire-rated ceiling assemblies.
The key point is simple: do not place an adjustable recessed art light immediately beside the wall and hope aiming will solve the problem. Calculate from the center of the artwork, start near a 30-degree aim from vertical, test the location at full scale, and make final adjustments before the ceiling is cut.
References
- How far should recessed lights be from the wall? | Philips Hue. (n.d.). https://www.philips-hue.com/en-us/explore-hue/faq/lamps/how-far-should-recessed-lights-be-from-the-wall
- Recessed Lighting for Artwork: Placement & Beam Angles - Cans & Fans. (n.d.). https://www.cansandfans.com/blog/recessed-lighting-for-artwork-placement-beam-angles
- Picture Lighting with Recessed Lights (+ Calculator). (n.d.). https://blog.recessedlighting.com/picture-lighting-calculator
- How to Calculate the Best Recessed Lighting Layout. (n.d.). https://www.fergusonhome.com/recessed-lighting-layout/a21659
- Recessed Lighting Placement | How to Correctly Place Your Lights. (n.d.). https://blog.recessedlighting.com/recessed-lighting-placement
- Recessed lighting placement 101: Too far apart = shadows. Too .... (n.d.). https://www.instagram.com/p/DHHJt9YyHPI
- What angle to illuminate art with recessed lighting? - Reddit. (n.d.). https://www.reddit.com/r/Lighting/comments/1e5qqfh/what_angle_to_illuminate_art_with_recessed
- How to Lay Out Recessed Lighting - The Home Depot. (n.d.). https://www.homedepot.com/c/ah/recessed-lighting-layout/9ba683603be9fa5395fab90c18f7401