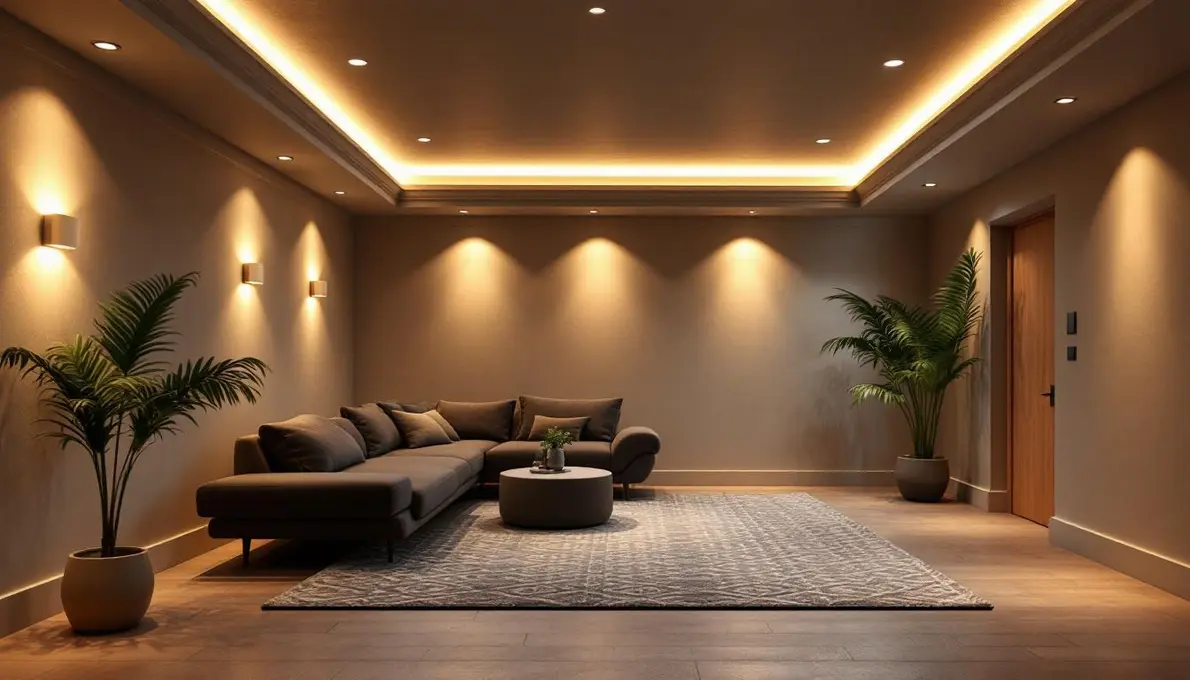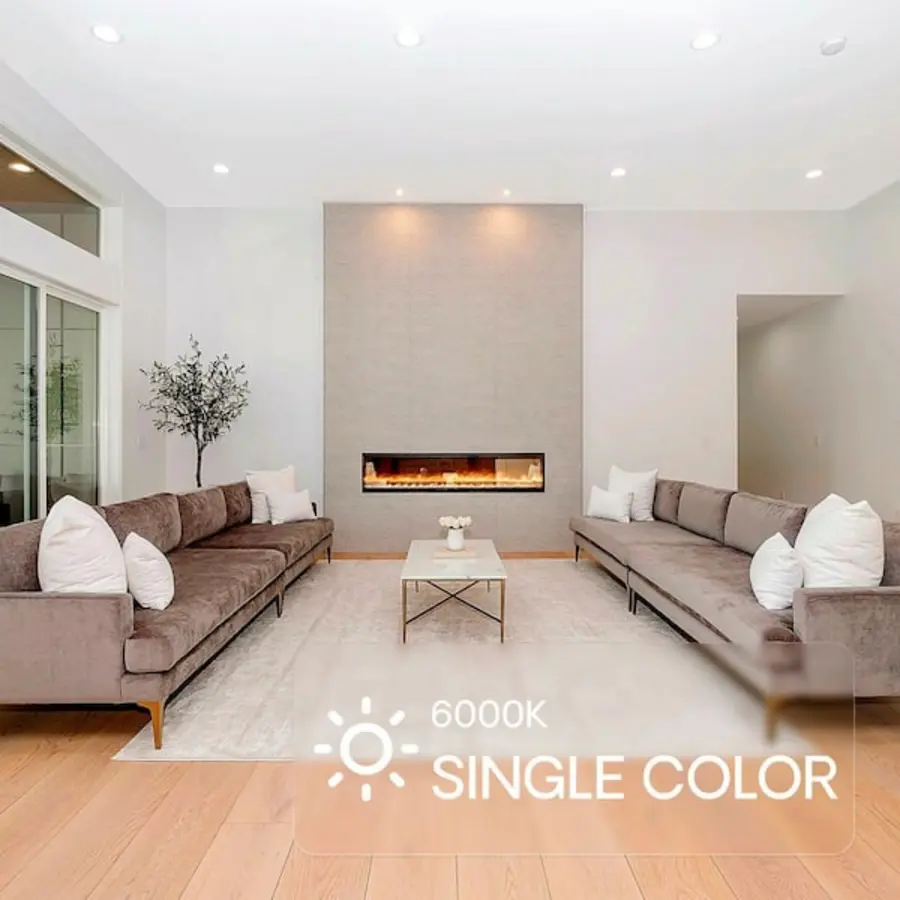
A recessed LED labeled for ceilings up to 9 feet can usually be installed on a 12-foot ceiling if its installation instructions and electrical compatibility allow it. The stated height range is generally an application recommendation, not an automatic safety cutoff. It indicates where the maker expects that fixture's output and beam distribution to give useful general light.
The practical concern is performance. On a 12-foot ceiling, the same downlight sends less light to the floor, seating area, and tables than it would from 9 feet. Its beam also spreads farther before it reaches those surfaces. A low-output, broad-beam fixture designed for an 8- or 9-foot room can therefore leave a 12-foot living room feeling dim or uneven, even if the ceiling has plenty of lights.
What a ceiling-height rating usually means
A recessed light ceiling height rating commonly combines several assumptions: the fixture's lumen output, beam pattern, aperture design, expected spacing, and the intended level of ambient light. It is a shorthand for likely visual results, not a universal rule about what the fixture can physically do.
Still, do not ignore the manufacturer's instructions. A product may have separate requirements for housing type, insulation contact, dimmer compatibility, trim, ceiling thickness, or enclosed spaces. If its documentation explicitly prohibits a particular application, follow that instruction. For a new installation or changes to fixed wiring, confirm local requirements with a qualified electrician.
For a 12-foot ceiling, the important question is not simply, “Can this light turn on?” It is: “Will this fixture produce the amount and quality of light wanted in this room?”
Why a 12-foot ceiling changes the result
Light level falls substantially as the distance between the fixture and the lit surface increases. As a simple comparison, moving a light from 9 feet to 12 feet above the floor increases the distance by one-third. If all else is equal, the illumination reaching a surface directly below is roughly reduced to 56 percent of the 9-foot result.
That comparison is simplified because useful surfaces are not always the floor. A dining table, for example, sits well above the floor; a sofa, artwork, and walls receive light at different angles. But the basic effect remains: a higher mounting position requires more careful planning.
The beam also becomes wider. Beam diameter depends on mounting distance and beam angle. A useful approximation is:
beam diameter = 2 × mounting distance × tan(beam angle ÷ 2)
For example, a 60-degree beam projected 12 feet downward has a much wider footprint than the same beam projected 9 feet downward. That may help a fixture cover a larger area, but it does not create more light. The available lumens are spread over more surface.
Do not choose by ceiling height alone
For recessed lights for 12 foot ceilings, consider the fixture as a combination of output, optic, placement, and room lighting layers.
| Factor | Why it matters at 12 feet | What to look for |
|---|---|---|
| Lumens | More distance reduces the light reaching the room surfaces. | Compare actual lumen output, not LED wattage alone. |
| Beam angle | A beam that is too wide can feel weak; one that is too narrow can create conspicuous pools of light. | Choose an optic suited to general, wall, or accent lighting. |
| Distribution | Two fixtures with the same lumens can light a room differently. | Look for a broad, even distribution for ambient lighting and controlled optics for accents. |
| Spacing | Fixture spacing affects uniformity, shadows, and ceiling appearance. | Use the fixture's spacing criterion or photometric information when available. |
| Dimming | Higher-output lights can be useful, but only if they dim smoothly to a comfortable level. | Confirm dimmer compatibility and low-end dimming performance. |
| Glare control | A bright recessed aperture can be distracting when viewed from a sofa or dining chair. | Prefer recessed light sources, regressed trims, or other low-glare optics where needed. |
Start with the room's lighting job
A 12-foot living room rarely benefits from treating every recessed light as the sole source of illumination. Recessed lighting can provide a calm base layer, but it is often more effective alongside table lamps, floor lamps, wall sconces, or a pendant over the dining table.
This layered approach has two advantages. First, it places some light closer to people and useful surfaces, where it can be more effective than ceiling-mounted light alone. Second, it lets the room feel adequately lit without filling the ceiling with bright apertures.
In an open living and dining area, it can be sensible to use different lighting roles in each zone:
- Living area: softer ambient downlighting, lamps near seating, and optional wall lighting or artwork lighting.
- Dining area: a pendant or chandelier centered over the table, with recessed lights used for surrounding circulation and general room brightness.
- Perimeter walls: carefully aimed or positioned light to reveal artwork, shelving, curtains, or wall texture without creating bright scallops where they are unwanted.
A decorative fixture over a table is not necessarily enough to light the entire room, but it can reduce the burden placed on recessed lights.
How many lumens are enough?
There is no reliable single lumen target for every 12-foot living room. Wall colors, daylight, furniture, room size, shade treatments, desired mood, and other lighting all matter. A living room intended for conversation and television viewing often needs less general illumination than a kitchen or workshop.
Instead of selecting a fixed output because a product says “up to 12 feet,” decide how bright the room should be at its highest useful setting. Then make sure the system can dim lower for evening use.
As a broad starting point, many 12-foot-ceiling rooms call for more output per recessed fixture than comparable 8- or 9-foot rooms. Fixtures around 1,000 lumens or more may be appropriate in some larger or more brightly lit spaces, but output alone is not the answer. Several high-output downlights with poorly controlled glare can feel harsher than a lower-output recessed layout supported by lamps and wall lighting.
Beam angle: wider is not always better
A wide beam can provide smooth ambient coverage, especially when fixtures are arranged in a regular grid. But at a 12-foot mounting height, an extremely wide beam can dilute the apparent brightness on the floor and furnishings.
A narrow beam concentrates light and can work well for artwork, a feature wall, or a specific architectural element. It is less suitable as the only ambient lighting in a living room because it can create bright circles and darker gaps between them.
For general lighting, seek a beam and distribution intended for broad, even coverage rather than choosing by beam angle alone. The beam angle printed on a specification sheet does not fully describe the shape of the light field, edge softness, or brightness at off-axis angles. If available, the fixture's photometric information and spacing criterion are more useful planning tools.
Eaton explains spacing criterion as a multiplier that can be used with mounting height to estimate maximum fixture spacing. For example, a spacing criterion of 1.5 at an 8-foot mounting height suggests a maximum spacing of 12 feet. This is a starting point for uniformity, not a complete lighting plan, because room surfaces and the desired brightness still matter. Eaton's recessed LED spacing guide provides an example of this method.
Plan spacing from the fixture, not a universal rule
The familiar rule of spacing recessed lights at about half the ceiling height can be a rough sketching tool. For a 12-foot ceiling, that suggests about 6 feet between fixtures. But it can produce a poor result if used without considering the fixture's distribution and the room plan.
A more dependable sequence is:
- Mark furniture zones, circulation paths, artwork, and the dining table before drawing a ceiling grid.
- Choose the lighting roles: ambient light, wall lighting, task light, and decorative light.
- Select a candidate recessed fixture with known lumen output and beam/distribution information.
- Use its spacing guidance as a ceiling for spacing, then tighten the layout where uniformity or wall illumination requires it.
- Keep the first row from walls at a distance that serves the wall, rather than automatically using the same dimension as the interior grid.
- Put recessed lights on separately controlled zones when the room has distinct living and dining areas.
A symmetrical grid can suit a simple rectangular room, but it should not override furniture placement. A downlight directly above the primary seating position, for example, may create unwanted brightness in a person's line of sight while doing little to improve the reading light beside the chair.
For a deeper planning framework, see our guide to recessed lighting layout.
Will a 9-foot-rated fixture create more glare at 12 feet?
Not automatically. Raising a fixture increases its distance from the viewer, which can reduce the apparent intensity in some viewing positions. But glare is not determined by height alone.
Recessed light glare at 12 foot ceiling height is most likely when a bright LED surface is visible from common seated angles, when fixtures are placed near the viewer's sightline, or when high-output lights use shallow trims with little shielding. Glossy floors, glass tables, television screens, and pale reflective walls can make the effect more noticeable.
To reduce glare, prioritize optical control rather than merely increasing fixture count:
- Choose a recessed or regressed light source instead of a bright, flush luminous disk where possible.
- Avoid placing downlights directly over the main sofa or favorite chair unless that position has a clear purpose.
- Use wall washers or dedicated adjustable fixtures for artwork rather than trying to angle general downlights toward the wall.
- Use separate dimmers so ambient ceiling light can remain modest while lamps provide comfortable local light.
- Consider darker or less reflective trim finishes if bright trim reflections are a concern, while remembering that trim color is secondary to the optical design.
Our guide to low-glare recessed lights for 8-foot ceilings focuses on a lower ceiling, but the same principle applies: what matters most is whether the light source is visible and how bright it appears from normal viewing positions.
When to replace the 9-foot-rated lights
A 9-foot-rated fixture may be perfectly acceptable at 12 feet when it is supplemental lighting, the room has other light sources, and the desired atmosphere is gentle rather than bright. It can also work if a lighting plan confirms that its output and distribution meet the room's needs.
Consider a higher-output fixture or different optic when the existing plan produces dark seating areas, weak wall illumination, obvious pools of light, or a need for many additional downlights just to make the room usable. Replacing the fixture type can be better than adding more low-output lights, since extra apertures may clutter the ceiling and increase glare.
The best result in a tall living or dining room is usually not the brightest ceiling. It is a balanced system: sufficiently capable recessed lighting, controlled glare, useful light near people and surfaces, and dimming that lets the room settle into a comfortable evening level.
References
- Recessed LED says up to 9' ceiling but I have 12 foot ceilings. : r/Lighting. (n.d.). https://www.reddit.com/r/Lighting/comments/1f0kb93/recessed_led_says_up_to_9_ceiling_but_i_have_12
- Recessed Lighting Spacing Guide. (n.d.). https://www.prolighting.com/blog/2026/07/28/recessed-lighting-spacing-guide
- Recessed Lighting Layout Rules: Spacing, Placement & Pattern Guide – Amicolight. (n.d.). https://amicolight.com/blogs/news/recessed-lighting-layout-rules-spacing-placement-pattern-guide
- Downlight Spacing Guide: How to Perfectly Space Your LED Recessed Lights - Fromlux Lighting Factory. (n.d.). https://fromlux.com/downlight-spacing-guide-how-to-perfectly-space-your-led-recessed-lights
- Spacing guide for recessed LED lighting. (n.d.). https://www.eaton.com/br/en-us/company/news-insights/lighting-resource/homes/spacing-guide-for-recessed-led-lighting0.html
- Recessed Lighting Calculator | FSG. (n.d.). https://fsg.com/resources/recessed-lighting-calculator
- How to Calculate the Number of Recessed Lights You Need – City Lights SF. (n.d.). https://citylightssf.com/blogs/city-lights-insights/calculate-recessed-lights-needed
- Recessed Lighting Calculator - LED Downlight Spacing & Layout Calculator | LightingCalculator.org. (n.d.). https://lightingcalculator.org/recessed-lighting-calculator