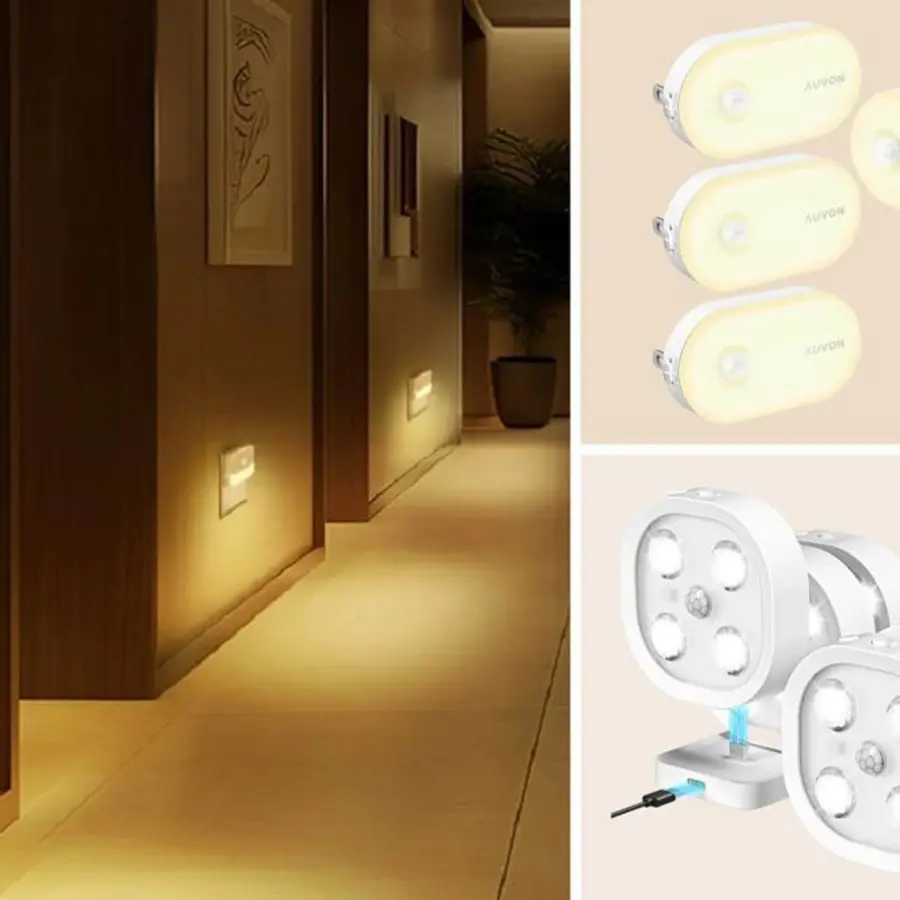
Outdoor lights dim until motion detected need two separate behaviors: a low-level nighttime setting that starts at dusk, and a temporary brighter setting triggered by motion. The simplest route is a purpose-built dual-brightness motion fixture. More flexible systems use dimmable fixtures controlled by a separate sensor, smart controller, relay, or automation platform.
The important detail is that an ordinary motion light usually cannot do this. Most basic motion fixtures are simply off until motion occurs, then on at full output. Look specifically for wording such as “dual-bright,” “standby dimming,” “nighttime accent,” “dusk-to-dawn with motion boost,” or an adjustable low-level setting.
Choose the control architecture before choosing fixtures
There are three practical ways to achieve dim nighttime light with a motion-triggered boost. The right choice depends on whether you are replacing one fixture, coordinating several lights, or building a more adaptable outdoor lighting system.
| Setup | How it works | Best for | Main limitation |
|---|---|---|---|
| Integrated dual-bright fixture | Photocell, motion sensor, and dimming behavior are built into one light | Replacing a single porch, garage, or side-door fixture | Sensor coverage and settings are tied to the fixture |
| Smart dimmable fixtures plus separate sensor | A motion sensor sends an instruction to compatible connected lights | Several fixtures or zones that should brighten together | Requires compatible devices and dependable automation |
| Sensor plus relay, dimming controller, or smart switch | A separate control device manages one or more hardwired fixtures | Larger areas, multiple fixtures, and renovation projects | Compatibility and installation become more complex |
For a single doorway, an integrated fixture is usually the clearest answer. For a driveway, long side yard, or garden route with several lights, separating the sensor from the fixtures often gives better coverage and a more coherent result.
Option 1: Use an integrated dual-bright outdoor motion fixture
A dual bright outdoor motion light has a photocell that recognizes darkness and a motion sensor that watches for movement. At dusk, it turns on at its selected low setting. When motion is detected, it rises to the selected bright level for a timed period, then returns to the low level rather than switching fully off.
Before installation, confirm that the fixture actually offers all of these settings:
- A dusk-to-dawn or nighttime operating mode
- An adjustable standby level, rather than only on or off
- A motion-triggered high-output mode
- An adjustable hold time for the brighter level
- A sensor range and detection angle suited to the location
- A way to disable or limit the sensor if needed
Some fixtures use fixed low and high output levels. Others allow you to choose the baseline brightness and the motion hold time. Adjustable settings are useful because a low level that feels comfortable at a sheltered front door may be inadequate at a long, dark side path.
Avoid assuming that a fixture labeled “motion sensor” also has dim-to-bright behavior. Read its operating modes carefully. A fixture may offer dusk-to-dawn operation and motion activation as separate modes, without combining them into a dim nighttime baseline plus a motion boost.
Option 2: Use dimmable smart lights with a separate outdoor motion sensor
This approach separates detection from illumination. A compatible outdoor motion sensor detects movement, then tells one or more dimmable connected fixtures to brighten. At dawn, the lights turn off; at night, they return to their scheduled baseline level after the motion timer ends.
This is often the most useful arrangement when one sensor should control multiple lights. For example, a sensor covering a gate or driveway entrance can brighten wall lanterns, path lights, and a garage-side fixture together. The sensor can be placed where it has a clear view of the approach route, while the fixtures can be chosen for their appearance and light distribution rather than their built-in sensor location.
A typical automation sequence is straightforward:
- At sunset, turn selected outdoor lights on at a low brightness.
- Allow the motion sensor to trigger only after dusk.
- When motion is detected, raise the relevant lights to a brighter level.
- Keep them bright for a chosen period.
- Return them to the lower nighttime setting unless another motion event occurs.
- Turn the lights off at sunrise.
The details matter. Make sure the automation returns lights to the baseline level rather than turning them off after motion. Also consider whether repeated motion should extend the bright period. For a front walk, that is often desirable; for a street-facing fixture prone to passing traffic, it may be less so.
Smart systems can also provide more useful manual control. A wall switch, app, scene controller, or automation dashboard may let you temporarily set all exterior lights to full brightness for guests, outdoor work, or an unexpected disturbance. Afterward, the system should resume its normal evening behavior.
Option 3: Control several hardwired fixtures from one sensor
When you want conventional hardwired fixtures but need one motion sensor to control several lights, the sensing and switching equipment may be separate from the luminaires. Depending on the system, a sensor can signal a relay, lighting controller, compatible dimmer, or smart switch that controls a group of fixtures.
This can be a good solution for a garage elevation, rear patio, or garden boundary where integrated sensors would face different directions and produce inconsistent results. One well-placed detector can cover the intended approach while all linked lights respond together.
However, this is the option where compatibility needs the most care. A dimmable LED fixture, its driver or bulb, the dimming control method, and the sensor/controller must all work together. Not every dimmable fixture can be dimmed by every control, and not every occupancy or motion sensor is designed to provide a maintained low-level output plus a temporary high-level output.
If the existing fixtures use replaceable bulbs, check whether the bulbs are dimmable as well as whether the fixture and control arrangement support dimming. If they use integrated LEDs, check the fixture documentation for supported control methods. For more background on this distinction, see integrated LED versus replaceable bulb fixtures.
Because this setup may involve changes to permanent wiring and outdoor electrical equipment, ask a qualified electrician to assess the proposed design and verify current local requirements. This is especially important where fixtures, controls, junction boxes, or cable runs are exposed to weather.
Set the low level for orientation, not illumination
The dim setting should make the route legible without making the property appear fully lit all night. It is there to reveal a doorstep, change in level, gate, path edge, or address area. The motion boost handles tasks that need more visibility: finding keys, unloading a car, taking bins out, or checking an unfamiliar sound.
Start with the lowest baseline setting that still makes the critical route easy to follow. A low setting is usually more comfortable for neighbors, reduces glare, and makes the brightening event more noticeable when someone approaches.
Do not rely on a high-mounted floodlight alone for a path. Bright overhead light can create deep shadows below shrubs, steps, and parked vehicles. A combination of modest wall lighting and low, shielded path lighting can provide more even orientation light, while a motion boost supplies temporary extra brightness.
Place the motion sensor for crossing movement
Sensor placement has more influence on performance than many homeowners expect. Motion sensors generally detect a person more reliably when they move across the sensor’s field of view than directly toward it. Aim the detection zone across the likely approach path when possible.
Keep the sensor clear of common false-trigger sources, including:
- Tree branches and tall planting that move in wind
- Air-conditioning equipment or exhaust outlets
- Busy roads, sidewalks, and neighboring driveways
- Reflective surfaces that may complicate sensor or photocell behavior
- Areas where pets frequently pass
A sensor can also react poorly when its photocell sees light from the fixture it controls. This may cause cycling, early shutoff, or inconsistent dusk-to-dawn behavior. Follow the product instructions for orientation and any required shielding. The photocell should respond primarily to changing outdoor daylight, not to the fixture’s own beam or a nearby porch light.
For a broader planning guide, see where to put motion sensor lights.
Plan manual override before you need it
Manual override is useful when you want the lights bright continuously for an evening, outdoor work, or a gathering. But override behavior varies widely. Some motion fixtures use a quick wall-switch sequence to enter a temporary always-on mode; others reset at dawn, after a set period, or when power is interrupted. Smart systems may use a scene, switch command, or app control instead.
Check three things before committing to a system:
- How to activate override without accidentally disrupting the normal schedule
- How long override lasts and how it resets
- Whether turning lights on manually prevents the motion routine from resuming
If you already have a fixture that stays on after an override, see outdoor motion light manual override for common reset approaches. Avoid repeatedly cycling power unless the manufacturer specifically describes that as the intended control method.
Common problems and what they usually mean
The lights turn on at full brightness all night
The fixture may be in dusk-to-dawn mode rather than dual-bright mode, or its low-level setting may be disabled. Check whether the product requires a separate “security,” “accent,” or “dim” setting to activate standby brightness.
The lights go off after motion instead of dimming
The control logic is likely configured as ordinary motion activation. In a smart system, revise the final automation action so the fixtures return to their evening baseline rather than to off.
The sensor triggers constantly
Reduce sensitivity, narrow the detection zone if possible, and look for moving vegetation, vehicles, animals, or pedestrian traffic. Re-aiming the sensor slightly can be more effective than lowering sensitivity so far that visitors are missed.
The lights do not come on until it is very dark, or stay on after sunrise
The photocell may be shaded, pointed poorly, obstructed, or receiving artificial light. Clean it, check its orientation, and ensure another fixture is not shining directly onto it.
The lights flicker or do not dim smoothly
Treat this as a compatibility issue until proven otherwise. The lamps or integrated drivers may not suit the control device, or the controller may not support the lighting load. Turn off power before inspecting anything, and have a qualified electrician investigate persistent flickering or unexpected operation.
A practical default plan
For most homes, use a low dusk-to-dawn baseline at entry doors and along the route people actually walk. Add a motion-triggered high level where useful visibility is needed: the front step, driveway approach, side gate, or rear door. Keep sensors aimed at approach routes, not toward the street or neighboring property.
Use an integrated dual-bright fixture when one light needs to handle one small area. Use a separate sensor and compatible controls when you need outdoor motion sensor controls for multiple lights. In either case, test the system after dark from the direction visitors will approach, then adjust brightness, sensitivity, and hold time before treating the setup as finished.
Finally, make sure every exterior fixture and control is suitable for its actual exposure. Outdoor locations vary from sheltered damp areas to fully exposed wet conditions, so verify the equipment documentation and current local requirements before installation. Our guide to IP ratings for lights explains the basic environmental-protection labels you may encounter.
References
- Outdoor Lights - turn on dimmed at dusk, full brightness for X .... (n.d.). https://community.smartthings.com/t/outdoor-lights-turn-on-dimmed-at-dusk-full-brightness-for-x-minutes-when-motion-detected/4069
- How Do Dusk to Dawn Lights Work? Complete Guide. (n.d.). https://www.everlite.cc/news/industry-news/how-do-dusk-to-dawn-lights-work-complete-guide.html
- SMART DIMMING SENSOR. (n.d.). https://rdalighting.com/smart-dimming-motion-sensor-ms180dim
- Motion Sensor vs Dusk-to-Dawn Lights: Which Is Better?. (n.d.). https://hi-hyperlite.com/blogs/news/motion-sensor-vs-dusk-to-dawn-lights
- Dusk-to-Dawn Sensor Dimmable Outdoor Lighting at .... (n.d.). https://www.lowes.com/pl/outdoor-lighting/dusk-to-dawn-sensor/dimmable/4294857035-4294517980-4294774400
- How Dusk To Dawn Sensors Work. (n.d.). https://www.ledlightexpert.com/guide-how-dusk-to-dawn-sensors-work
- Motion Sensor - Dusk to Dawn - Outdoor Lighting. (n.d.). https://www.homedepot.com/b/Lighting-Outdoor-Lighting/Motion-Sensor/Dusk-to-Dawn/N-5yc1vZc7qvZ1z0mmg5Z1z0u5o6
- Dusk to Dawn Outdoor Lights | Photocell Exterior Lighting. (n.d.). https://www.beeslighting.com/collections/dusk-to-dawn-outdoor-lights