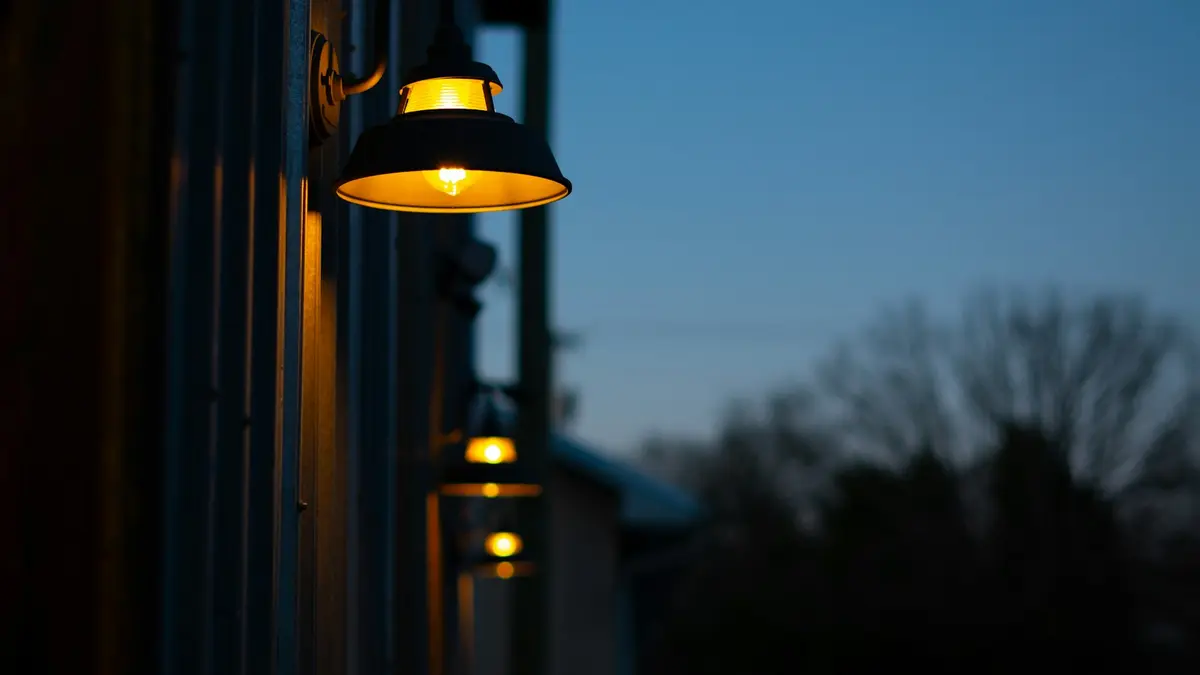
An exterior light fixture not flush with siding is not always defective. Some sconces have shaped, curved, or intentionally raised backplates that leave a visible reveal at parts of the perimeter. The important question is whether the fixture is firmly supported and whether its intended weather seal bears evenly against a suitable mounting surface.
A gap is a problem when the fixture rocks, the mounting screws cannot tighten without distorting the base, the gasket is not compressed where it should be, or siding and trim leave an open route toward the electrical box. Do not solve those problems by simply overtightening the screws or filling every opening with caulk. First identify whether the mismatch is in the fixture, the wall surface, the mounting hardware, or the box behind it.
First, distinguish a normal reveal from a bad fit
Take a close look at the fixture with the power off. Many outdoor wall lights have a backplate that is flat only around a narrow sealing rim. Others have decorative curves, scrollwork, or a cast shape that is not designed to touch the wall at every point.
A fit is usually acceptable when all of the following are true:
- The fixture is stable and does not move when gently pressed.
- The backplate is not bent or visibly under stress.
- The supplied gasket, if present, contacts the mounting surface evenly around its intended sealing area.
- The mounting screws or nuts hold the fixture without forcing it to conform to uneven siding.
- The electrical box and wire opening are protected from direct water entry according to the fixture and mounting-system instructions.
A visible shadow line alone is not necessarily an outdoor light fixture gap from wall that needs repair. A wedge-shaped gap, a loose bottom edge, a crushed gasket on one side, or a fixture that tilts after tightening is different: it indicates that the parts are not meeting on the same plane.
The most common reasons an outdoor fixture will not sit flat
The fixture base does not suit the siding profile
Horizontal lap siding, vinyl siding, shakes, board-and-batten cladding, stone veneer, and textured masonry are not flat mounting surfaces. A fixture with a flat backplate may touch a siding ridge at one point while standing away from the lower courses. Tightening the hardware can crack a plastic base, bend metal, or leave the gasket unevenly compressed.
This is especially common when a new fixture is larger, smaller, or differently shaped than the one it replaces. The old light may have covered an existing siding block, while the new base partly extends beyond it.
The existing mounting block is too small or poorly matched
An exterior sconce mounting block provides a flat surface over profiled siding. It needs to be large enough for the new fixture's sealing rim and positioned so the fixture base lands fully on it.
If a round fixture base overhangs a narrow rectangular block, or if the bottom of the fixture falls onto a siding course, the assembly may never sit correctly. Replacing the block with one that fits the new fixture is usually a more durable solution than trying to bridge the mismatch with thick sealant.
The siding or mounting surface is warped
Vinyl siding can bow from heat, age, or incorrect fastening. Wood can cup or shrink. A wood trim board can twist, and a masonry surface can be irregular. Place a straightedge across the area after removing the fixture, if practical. If the wall surface itself is not reasonably flat, the fixture is not the root cause.
Do not pull warped siding into place with fixture screws. The light should be supported by its proper mounting arrangement, not used as a clamp for exterior cladding.
The electrical box projects too far or sits too far back
The wall light fixture mounting plate and the electrical box must work together without preventing the backplate from seating. A box that protrudes beyond the intended plane can push against the fixture or mounting hardware. A recessed box may leave an unsupported void or make it difficult for the gasket and backplate to seal the opening properly.
This can be more complicated than it looks because the box location, siding block, weather-resistive layer, and wiring all meet in the same area. If you cannot see why the fixture is being held away from the wall, stop before modifying the box or wall opening. An electrician or experienced exterior contractor can assess the mounting arrangement without guessing.
The mounting bracket or screws are installed incorrectly
Most wall fixtures attach first to a crossbar or mounting bracket, then to decorative nuts, cap nuts, or screws at the front. A bracket installed upside down, offset from the box, bowed by overtightened screws, or paired with the wrong screw length can hold the fixture away from the wall.
Before blaming the siding, remove the fixture and compare the installed bracket with the manufacturer's diagram. Check that it is centered, flat, and not interfering with the fixture backplate. Use only the hardware arrangement specified for that fixture where possible; improvised spacers can create both stability and weather-sealing problems.
The gasket is missing, displaced, or unsuitable
Many exterior fixtures use a foam or rubber outdoor light fixture gasket behind the backplate. Its job is to help close the intended interface between the fixture and the mounting surface. It cannot reliably compensate for deep siding ridges, a crooked block, or a major mismatch in shape.
Inspect the gasket before reinstallation. It should not be torn, folded over, hardened, or squeezed out of place. If the fixture arrived without a gasket but its instructions show one, contact the manufacturer rather than substituting an unknown material. A generic foam strip may alter how the fixture sits, trap water, or interfere with the mounting hardware.
A practical inspection sequence
Turn off power at the relevant breaker before removing the fixture or touching any wiring. Confirm that the circuit is off using an appropriate tester, or have an electrician handle the inspection if you are not comfortable working around electrical equipment.
- Photograph the installed light from the front, side, top, and bottom. This helps show whether the gap is uniform, limited to one edge, or caused by a tilted fixture.
- Check for movement. A fixture that rocks, pivots, or shifts when lightly touched should be removed and remounted rather than sealed around.
- Look at the backplate shape. Identify the actual sealing rim. A decorative outer edge may not be intended to contact the wall.
- Remove the fixture and inspect the gasket. Note whether it is present, continuous, and aligned with the intended contact area.
- Inspect the mounting bracket. Verify its orientation, centering, and condition against the installation instructions.
- Assess the mounting plane. Look for siding ridges, an undersized block, warped trim, proud fasteners, or a box that protrudes into the fixture's path.
- Dry-fit the fixture before reconnecting it. With the wiring safely out of the way, see whether the backplate can sit properly on the surface. If it cannot, changing wire connections will not solve the fit.
- Correct the support surface, then reinstall. A suitable mounting block, properly sized trim plate, or corrected bracket is generally preferable to forcing the fixture into place.
Fixes that usually make sense
The right repair depends on what the inspection reveals.
| What you find | Likely correction |
|---|---|
| Fixture is secure and the small reveal follows the decorative backplate shape | Leave it as designed, provided the intended gasket contact and weather protection are intact. |
| Fixture overhangs an existing siding block | Install a correctly sized, flat mounting block or choose a fixture with a compatible base. |
| Fixture rocks on siding ridges | Remount on a flat block or another properly prepared mounting surface. |
| Bracket is crooked, reversed, or bowed | Reinstall or replace the bracket as directed by the fixture manufacturer. |
| Gasket is missing or damaged | Obtain the correct replacement gasket or manufacturer-approved solution. |
| Box or wall opening interferes with the fixture | Have the mounting arrangement evaluated and corrected before reinstalling. |
| Backplate is warped, cracked, or will not sit flat on a known-flat surface | Return or replace the fixture. |
When caulk is appropriate—and when it is not
Sealant is sometimes part of an exterior fixture installation, but it is not a substitute for a flat, supported, gasketed fit. Follow the fixture manufacturer's installation instructions and the requirements appropriate to your local climate and wall assembly.
Do not use caulk to pull a loose fixture tight, fill a large void behind a base, or disguise a mounting block that is too small. A thick bead may leave the fixture unstable, make future service difficult, and conceal where water is entering.
It is also wise not to assume every edge should be sealed. Exterior drainage details can vary by fixture and wall system. If the instructions do not clearly explain where sealant belongs, or if the installation would require sealing over an opening that may serve drainage, ask the manufacturer or a qualified installer before proceeding.
When to return the fixture
Return or exchange the light when the fixture itself is the mismatch rather than the wall preparation. Common signs include:
- The backplate is visibly warped, cracked, or uneven out of the box.
- The supplied gasket does not match the fixture's sealing rim.
- The fixture cannot sit flat on a known-flat test surface.
- The mounting holes, bracket, and supplied hardware do not align as the instructions indicate.
- Achieving a stable fit would require cutting away part of the fixture, using unapproved spacers, or relying on a very thick caulk joint.
Also reconsider the fixture if its base is simply too small to cover the existing mounting location cleanly. A different style with a larger or more compatible backplate can be the cleaner choice, particularly on siding where changing the block would be disruptive.
Stop and call a professional if water or electrical safety is in question
Pause the project if you see dampness, corrosion, damaged wire insulation, burned wiring, a loose electrical box, a wall opening that exposes the cavity, or evidence that water has been entering behind the fixture. These conditions go beyond adjusting a decorative backplate.
Current local electrical and building requirements can affect how exterior boxes, fixtures, supports, and weather protection must be installed. Verify those requirements with your local authority or use a qualified electrician, particularly when the box must be moved, replaced, or altered. The fixture's instructions should also be treated as part of the installation requirements.
A well-fitted outdoor wall light should look intentional, remain mechanically secure, and protect the area behind it from routine weather exposure. If it only appears flush after excessive tightening or heavy sealant, the mounting surface or fixture choice needs to be corrected first.
References
- Installing exterior light on existing siding base not large .... (n.d.). https://www.reddit.com/r/DIY/comments/1eho7hz/installing_exterior_light_on_existing_siding_base
- Why do exterior lights always end up crooked or messy? .... (n.d.). https://www.facebook.com/buildshownetwork/videos/why-do-exterior-lights-always-end-up-crooked-or-messycnc_electric-explains-why-i/1740370387346297
- How do you mount an exterior light fixture on siding with a rainscreen? - GreenBuildingAdvisor. (n.d.). https://www.greenbuildingadvisor.com/question/how-do-you-mount-an-exterior-light-fixture-on-siding-with-a-rainscreen
- a technical breakdown of the proper way to mount exterior .... (n.d.). https://www.facebook.com/61554977615841/posts/a-technical-breakdown-of-the-proper-way-to-mount-exterior-lighting-onto-a-sided-/122263709726165920
- Mounting Blocks | Why To Replace Them To Install Bigger Light Fixtures. (n.d.). https://kbelectricpa.com/mounting-blocks-why-to-replace-them-to-install-bigger-light-fixtures
- Outdoor light mounting issues. (n.d.). https://www.doityourself.com/forum/lighting-light-fixtures-ceiling-exhaust-fans/425109-outdoor-light-mounting-issues.html
- How To Install An Exterior Light And 3 Common Mistakes To Avoid. (n.d.). https://www.youtube.com/watch?v=jdFkkorEqIM&xstg=CAMSBhUDzO3xHw%3D%3D
- How To Install An Exterior Light And 3 Common Mistakes To Avoid. (n.d.). https://www.youtube.com/watch?v=jdFkkorEqIM